Translate

Showing posts with label Repairs. Show all posts

9/18/15

Restoring a Vintage Cast Iron Roasting Pan

Vintage 12" x 19" cast iron roasting pan after scrubbing and drying.
Last night my husband brought home quite a lovely surprise compliments of our good friends the Linton's.  It seems Mike discovered a bit of treasure he thought I might appreciate and indeed I do!  I have a better than average collection of cast iron cook wear but had never seen a cast iron roasting pan, and it is a dandy!  Measuring 12" x 19" and 3 1/4" deep.  I can see 2-3 hens sitting pretty atop a bed of root vegetables, a beautiful ham, and a turkey, standing rib roast etc. in it's future!

The first step in it's new life with us was to scrub away the debris with a brush, coarse salt, and hot water.  I lined my white porcelain sinks with towels as not to beat them up in the process.

After preheating my oven to 200 degrees F.  I placed the damp roasting pan in the oven and set the timer for 40 minutes to ensure it was well dried before seasoning.  I often dry my cast iron by placing it on the gas burner of my store a few minutes to ensure it is really dry.  JUST DO NOT WALK AWAY IF YOU DO THIS!

Clean, dried, and seasoned, ready to go for years more service.
Upon removing from the warm oven I seasoned well with vegetable oil and wiped well with paper towels.  She is ready to go!  Thank you again to the Linton's.

8/8/13

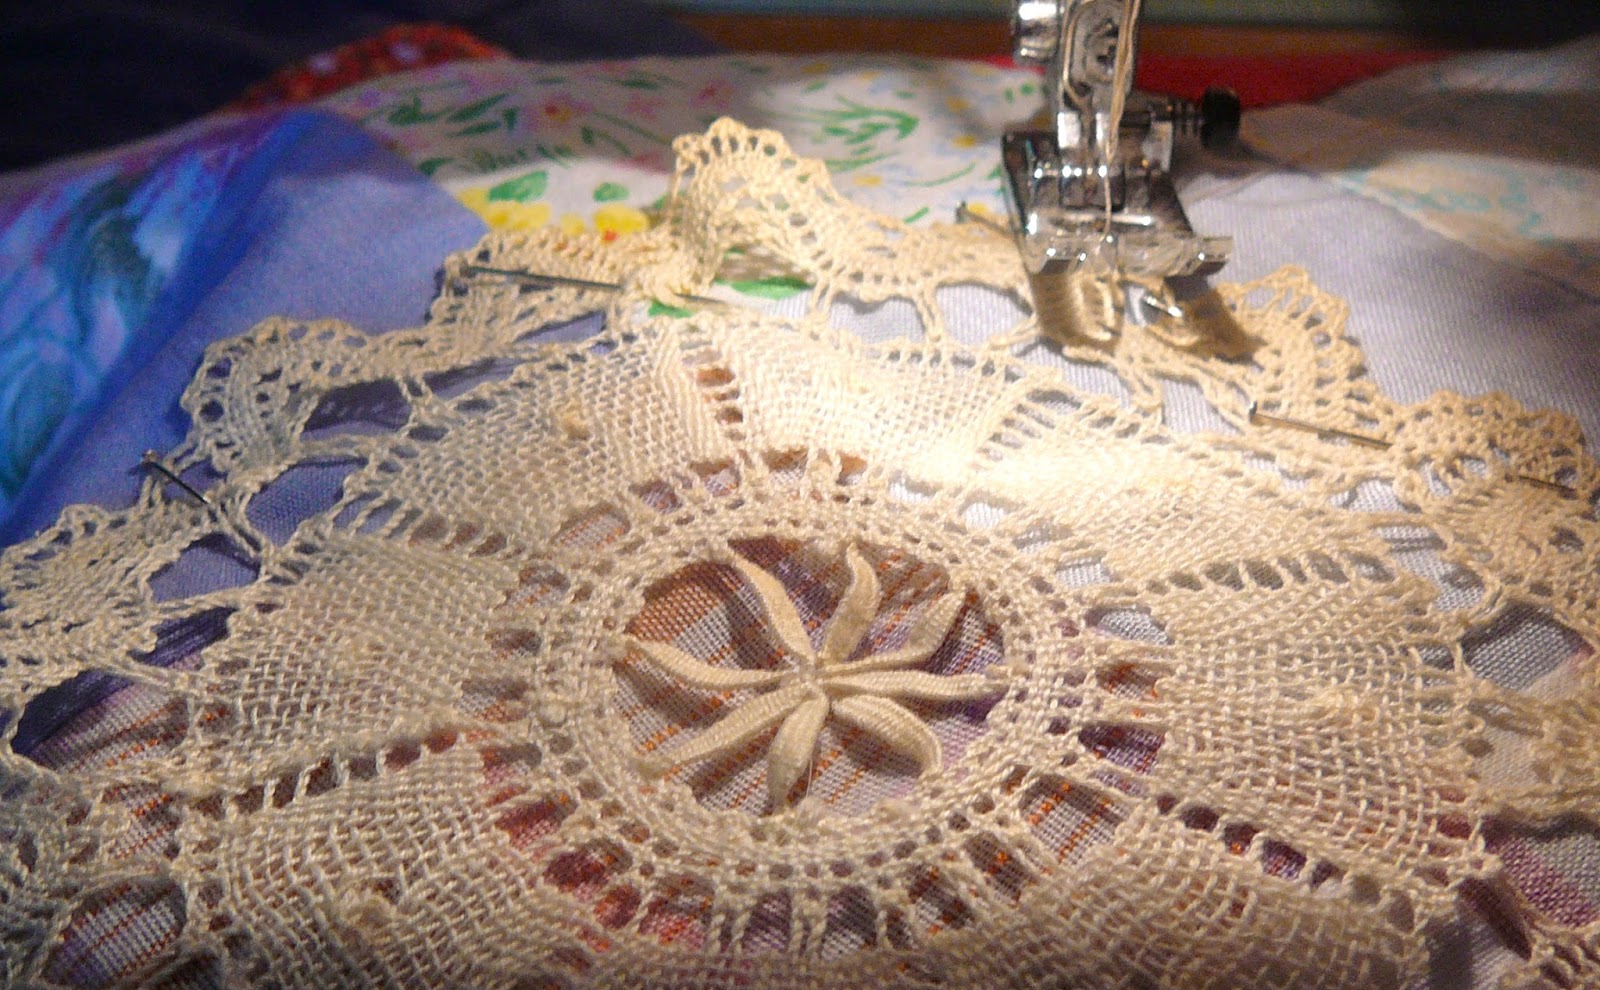
Second Vintage Patchwork Coverlet Repaired with Vintage Doilies

These are much sturdier than they appear and are perfect for covering places where the fabric itself had worn out.
Today has not gone as planned so I changed the plan and started back sewing.  I am making my way back to finishing some of the projects I have started so I can start some new ones!!

I love the delicate look these doilies lend to the overall appearance of the coverlets.
Today I completed the repairs on the second  vintage patchwork coverlet and am really happy with both of them.  They should both be just fine now for a good long time.

Basically I just select what will best work where and pin them down then stitch them snugly and back stitch trimming any loose threads as I go.

I really like that they have all darkened with age and appear as different shades of tea stain.  It adds to the vintage feel of the project.

Lots of personality reflected in these coverlets.  History too as Mother made them from the cloths belonging to my Grandmother and my Dad.
There is a comforter I am almost done with and it is very very old and some of the fabric is disintegrating so I am planning on using this technique for it also.

It is lovely that the patchwork patterns can show through some of the repairs and still be an effective restoration.
This is a frayed seam repair made with a strip of a nappy cotton lace and it works perfectly by stitching a rectangular box instead of just a row.
I really love this project and look forward to work on more if these  as it is needed.

8/7/13

Vintage Chair Repair Using A Staple Gun!

This chair has been back in a bedroom corner for years and I haven't decided now where to use it. 
Things happen and then what to do?   Many times I don't want to let something go because it has a high sentimental value to me.  But when it comes to getting things fixed what a challenge that can be!  Thus my situation with some chair repairs that needed to be made.   I took Brian's staple gun and took matters into my own hands!

After being in the furniture business for well over 30 years I am quite attuned to the part staples, glue, and trims can play in their construction.  Not to mention tacks and needle and thread.

My stapling improved with practice.
The first project was a vintage oak dinning room chair with a refurbished bottom that somebody had stood on and broken.  It occurred to me that I have numerous pieces of leather stored away from   samples I had kept and this could be tightly stapled onto the seat, the cushion replaced, and nobody would be the wiser!  So off I went stapler in hand.

Before the bottom went bad I used this in the kitchen to check out recipes and write letters.  Now it is good as new again.
Next was a very unique piece given to us by my husband's Aunt Virginia.  It is a large high backed captain like chair with arms.  One of which widens out at the front right like an old school desk chair.  Just right for sitting to pen something.  The webbing had long since gone and had never been repaired because it looks daunting as the webbing anchored down in slots with metal ends.  After all these years of it's sitting in a bedroom corner, it occurred to me to just use strapping material and weave the strips tightly, then at the ends staple to secure.  In either case braid or trim could be glued atop the staples if desired for cosmetic purposes.  The second chair requires a cushion so the weaving is naturally covered.

So,  I got busy and the two chairs are as good as new and I am left wondering what took me so long?