Translate

Showing posts with label Quilts. Show all posts

12/4/15

Holiday Sewing! Quick Scarves & Cozy Tied Throws for Starters

Soft and cozy royal blue ribbed knit is outstanding!  So I made two!
A few weeks ago I took a quick inventory of winter knits that might be lovely as scarves.  I wanted some bulky, some silky knit, and all pretty.  My first dive into the first tote netted enough for six cowl or circle or infinity scarves.  I was looking for in the neighborhood of 2 yards by 11 or 22 inches.  Not all the same but in the neighborhood!

Love this soft and silky but with medium heft.
Red, black, and white cable is quite striking as well as so soft!


I REALLY like this very soft and a little bulky number and I made two of this too.


Six scarves lined up and done. 


Next I went through the three quilting totes and found three pieces suitable for tied comforter style throws.  I am not sure if I will give them all as gifts or who I might gift them with but I am enjoying getting back to my treasures!

Two velvet and one cotton patchwork topper for a throw.
I plan another fabric dive as soon as I get finished with these pieces!  I also hear throw pillows calling my name. Listen.......do you hear it too?  Ops I had to do it!  Thinking Christmas or New Years Eve sparkling glittering scarves!  Lots to do!

GLITZ GALORE! May go for something festive!
If you want to make one of these scarves (or more).  For each scarf cut fabric 2 yards (72")  by 22 inches.  Fold with right sides facing longways.  Machine stitch 1/2" from the edge the long seam.  Turn right side out.

Fold scarf in half.  Match the raw ends.  Pin right sides facing of the ends and machine stitch leaving a 4" to 6" opening.  Turn the scarf right sides and fold the raw edges of the opening together to close then hand stitch the opening closed.  You are all done!

NOTE:  For complete instructions with photos go to my link as follows..... thehiddenpantry.blogspot.com/2013/01/infinity-scarf-circle-large-double-loop.html
Of course you can plat around with the dimensions too!

11/20/14

Yesterday was Egg Day So Today I make Thanksgiving Noodles! (Got Eggs from Harry the Egg Man Down the Road.)

Holiday's are not holidays in our family without the home made noodles.
There were plans made to get eggs Monday but after all the snow and cold set in I phoned Harry Brown and asked if Tues. or Wed. would work just as well.  He was just as happy as could be to oblige me.  Dear man that he is!

Tomatoes in my kitchen window.
So yesterday off I trekked and what to my delight did I see?  A big table of tomatoes just waiting for me!

Green and partially green tomatoes ripening in one dinning room window.
God bless you Harry!  He gave me a big sack and told me to help myself!

The third window of ripening tomatoes!
I returned home with not only 6 dozen eggs but I have three window sills of tomatoes ripening.  With any luck we may still have fresh home grown tomatoes at Christmas!

You do need a sharp knife to slice them!
Today I will pan to make a few batches of noodles to freeze for Thanksgiving then drop them into hot turkey stock for Thanksgiving Dinner.      thehiddenpantry.blogspot.com/2011/11/make-egg-noodles-for-now-or-store-in.html     This is the link if you would like step by step directions to make them too.

The vintage doilies add to the "character" of the patchwork coverlet.
There is mending and sewing to do and I will strip the beds, launder the sheets, and remake them for the company that will be here!  There is a vintage patchwork coverlet my Mother made that needs a bit of additional repair today. Many times I am able to make repairs using the vintage doilies I have collected to cover the worn spots.     thehiddenpantry.blogspot.com/2013/08/second-vintage-patchwork-coverlet.html    Here is another link if you would like to see just how I repair them.     thehiddenpantry.blogspot.com/2013/07/repairing-patchwork-coverlet-with.html

Doilies come in various sizes and colors I have found! 
I am so happy when all of my Children and Grandchildren are here. It makes these tasks fun!


11/10/14

Mending and Repairing Grandma Ruby's Vintage Quilt

All of the binding has come loose and I am carefully making repairs.
It has been quite a while since my brother-in-law Bart and sister-in-law Pam gave us this quilt that Grandma Ruby had made.  The binding was in need of repairs even then.  At that time I was still working and in my head it went on my now infamous "list".  While many of you have traveled with me as I have knocked things one right after another off that list I am remiss I haven't gotten to this before now!

I love these bright colors and the yellow she bound it with!
My last trip to Hobby Lobby netted the yellow quilting thread needed and today is the day I have started!  At noon when I ait to start this I am half way around in sewing the binding.  The stitching was gone most of the way around only attached at all on one side and frayed.  There are also spots in the quilt top in need of a few loving stitches!  But by far the greatest repair is in the binding!

The happy quilt! 
I have always loved this quilt as green is about my favorite color and I find this very bright and quite cheerful!

11/1/14

Assembly of the 3 layers, trimming, and basting the next quilt to be done.

I pin and trim and as I go I turn the quilt on the table to get to the next section.
After a six day trip to Indianapolis and a week to get things back into order at home I started back on Quilt #3 this afternoon.  Previously I had completed the embroidery of the four women's names who will have "had a hand" in the completion of this quilt* and purchased and laundered the backing material.  I chose unbleached perma pressed muslin. I had on hand 100% cotton batting and hand quilting thread in several colors.  I chose to hand baste in contrasting black.

The quilt top measures 6 1/2' by 7 1/2' so it is nice and big but it will be awkward to work on because of the size.  I start by lining up the backing on the corner of my dinning room table with all of the leaves in.  With Brian's help we laid the batting on top lining up the starting corner and sides.  It was much easier with a little help!  Next we placed the pieced top on the batting forming the three layers of the quilt.

The new long straight pins did make this go with more ease.
Last week I broke down and spent $7.00 on a new package of long straight pins with red beads on the end.  This made the pinning easier and more visible.  I pinned it all of the way around the perimeter smoothing the three layers as I went. Then trimmed the three layers all to about 3/8"from the raw edge of the top. (I can't tell you why I do it this way, I just do?)

Honking big gaudy basting stitches!
My hand basting is big and easy to see as well as easy to remove when I am finished! It has only one purpose and that is to keep the layers smoothly in place as I work. It was evening by the time I finished the basting and I had to turn on the dinning room light which is why the photos are so differently lit!

The basting is done at about a 6" interval in a rectangular spiral pattern from the outside in.
My next step will be to try to figure out how to put together one of my two quilting frames and how then to get this quilt onto it!  Hopefully my son Mike and his wife Julie can lend a hand tomorrow night after supper.  Both frames were her late Grandmother's.  If that doesn't work out I will call my neighbor Cindy who quilts with a frame and perhaps she will help me.  Will go from there!  Plan "C" is to just use a lap hoop and just get at it!  *  Here is the link explaining the 4 generations who have put these together.    thehiddenpantry.blogspot.com/2014/10/quilt-number-three-starts-today-weekend.html

10/20/14

Quilt Number Three Starts Today, A Weekend Guest and a Cherry Pie in the Oven.

Starting inherited pieced quilt #3 .
Guess with the cooler weather and the leaves turning I have the "bug" to sew.  No sooner than I had the second quilt finished and on the bed to admire than the tape measure was in hand measuring number three for backing, 6 1/2' by 7 1/2'.   Again, this was pieced by three generations of my late first husband's family and recently given to me. 

This morning I caught up all of the mending as Brian was off on errands, rolled out pie pastry for a cherry pie, and mixed up the filling from the cherries the Saltzman's shared with us.  (I sure wish I had thought of making the cherry pie filling and freezing it in foil and plastic lined pie plates as I have done with the peaches and apples!)

Cherries frozen in the spring make a great pie filling now.
I love making the French Pie Pastry in the food processor.  It is the best ever, fast, and the dough handles beautifully.  I keep 2 sticks of butter dices up in the freezer just to make it up anytime!  Here are the links to my new favorite pastry and for making a fresh cherry pie.  I hope you are fortunate enough to make one real soon!    thehiddenpantry.blogspot.com/2014/09/french-pie-pastry-in-food-processor.html       thehiddenpantry.blogspot.com/2012/05/fresh-cherry-pie.html

Four names with dates of birth are embroidered in one corner of this hand pieced quilt top.
At any rate I traced the names and have started embroidering them onto a corner of the "new" quilt top this morning.  This is fun too!  It will keep my occupied until I get to town to purchase fabric for the backing and a spool of yellow quilting thread I need to repair a quilt Brian's Grandma Ruby made.

It is good I am so easily entertained!

Monday Morning:  It was a lovely weekend and I managed to finish the embroidery as well as have a family dinner and a lot of fun.  I expect it may take me months to do this particular quilt as I plan to hand quilt it.  There are several other projects I plan to sprinkle in as I go to keep things interesting.

10/14/14

Finishing Tied Rustic Vintage Quilt with Antwerp Edging Stitch or Knotted Blanket Stitch

Antwerp Edging Stitch
Monday I cleaned off the dinning room table and spread the rustic hand pieced vintage quilt I have been working on across the top.  It has been a couple of weeks since I have had it out and this would be a good week to try and finish it.  Rain and storms all week and rest my strained left leg a bit.

Trimmed, turned, and pinned.
I trimmed it cutting the batting back about a quarter inch inside the rough edge of the top.  Then I trimmed the muslin underside equal to the pieced top.  Next with straight pins in hand folded both the top and the bottom pieces under equally about 3/8" and at the folded edge pinned all of the way around the quilt.

Slip stitched edges.
My plan is to use quilting thread and hand slip stitch the two folded edges together.  This is my way of basting it together before the decorative finish is applied.  I am crazy about alpaca yarn.  I have no explanation for it.  Just one of the little mysteries of life!  At any rate I want to then do a fancy Antwerp blanket stitch using alpaca yarn matching the ties holding the quilt together all the way around to embellish the finished edge.

Yes, I know this is different, but I like different and so this is the direction I am headed with it!  We shall see how it works out!

My view in the dinning room!
Alpaca yarn is terribly soft and non allergenic.  It makes a soft and not a bit scratchy contrasting
 edge.  I have always loved anything finished with a blanket stitch so I love the idea of trying a variation of it on this piece.

My favorite stitchery book!
Also worth mentioning here is an amazing woman who has more than mastered the hand stitching of the world as far as I can see! Sarah Whittle has published a wonderful book I purchased about a year or so ago and she is a Contemporary Embroidery Artist I am quite in awe of!  Her book details more stitches than I would have guessed exist.  It is called "The Needlecraft Style Directory" and gives beautiful instruction, history, and illustrations of stitches from around the world.  I would highly recommend it for anyone interested in hand work or it's history.

9/20/14

Basting Together the Second Antique Pieced Quilt Top.

There is no organized pattern of these squares.
Last eventing (Thursday) I finished the embroidery of my children's Great and Great-Great Grandmother's names as well as mine on three quilt blocks since I am finishing these quilts.

1869 was the birth date of the first hands to work this fabric, then 1889, very humbling for me to touch this.
I am having second thoughts though that maybe I should go back and include the grandmother who gave me these even she said she did none of the work on them???  There are later ones she did do and I will put her name on them.  I don't know, anybody want to comment?  I am all ears!

Hand basting helps a lot when working with big pieces of textiles.
You can tell these again are very old fabric patterns.
Anyway this afternoon I cleaned off the dining room table and put the backing, batting, and quilt top all together and got it pinned and then hand basted together.  Lastly I trimmed it.   I still am unsure what to do next.  The fabric is old, old, old as you can see.  There is no planned pattern, more of a made for warmth and necessity quilt by country folk of generations ago.  Which is what I love about these! 

Since it is not just old but all hand stitched I think it might be fragile and be better less worked.  Also since it is dark it might be nice tufted with red yarn?  There is a red tiny tiny candy cane pattern in some of the squares which makes me want to take it to a more holiday feel?  I don't know though!

I love the blanket stitched edges on this heavy old comforter.
Normally I am very decisive but this one has me in a quandary.  I loved the way the blanket stitched edges turned out on the first one (The Crazy quilt.) and am thinking I may repeat that again here.  I think the dark colors will carry it....well maybe?   Here is the link to the first pieced top I worked if you would like to see what I am speaking about.      thehiddenpantry.blogspot.com/2013/09/today-crazy-quilt-ida-bell-and-ellen.html

One thing is for sure,  it is 3:30 PM on Friday and I am pooped!  So I will sleep on it.  Tomorrow is another day.

9/18/14

Sewing, Mending, Repairing, and More

There are three blocks to do, this is the second.
My sewing is finally underway!  Sunday afternoon I started slowly by putting a casing into a pair of Brian's favorite sweatpants and inserting a cord as a tie so he could continue to wear that favorite pair of pants with the elastic out of the waist!

Next I pinned mid weight woven lace and lace doilies in place on two coverlets showing some wear!  This afternoon I stitched them and they are good as new! 

There is a pieced quilt top I need to decide to either tuft or quilt but first I want to embroidery the names of the women who have stitched it together by hand and will finish it.  The last one I completed was embroidered after the fact and I am sure it will be easier to do it now before it goes together!

My purpose is to leave these to my children with an idea of their age and the ancestors who created them. This piece is all hand stitched quite beautifully with again vintage fabrics that are not as heavy as the first one I finished.  It is primarily dark fabrics and I am unsure if hand quilted what color thread I would use.  On the other hand I could use a heavy batting and tuft it as a comforter using a contrasting wool yarn for wonderful winter warmth.  I really loved the way the blanket stitched edges looked in the crazy quilt and would use this again on this one if I  choose tufting.

There are several other finished tops and some are light weight and light colors that would be very suited to hand quilt.  Others are pieced in velvet just a wide range to ponder suitable finishes!


11/5/13

Fall is a Beautiful Time for a Drive to Indianapolis.

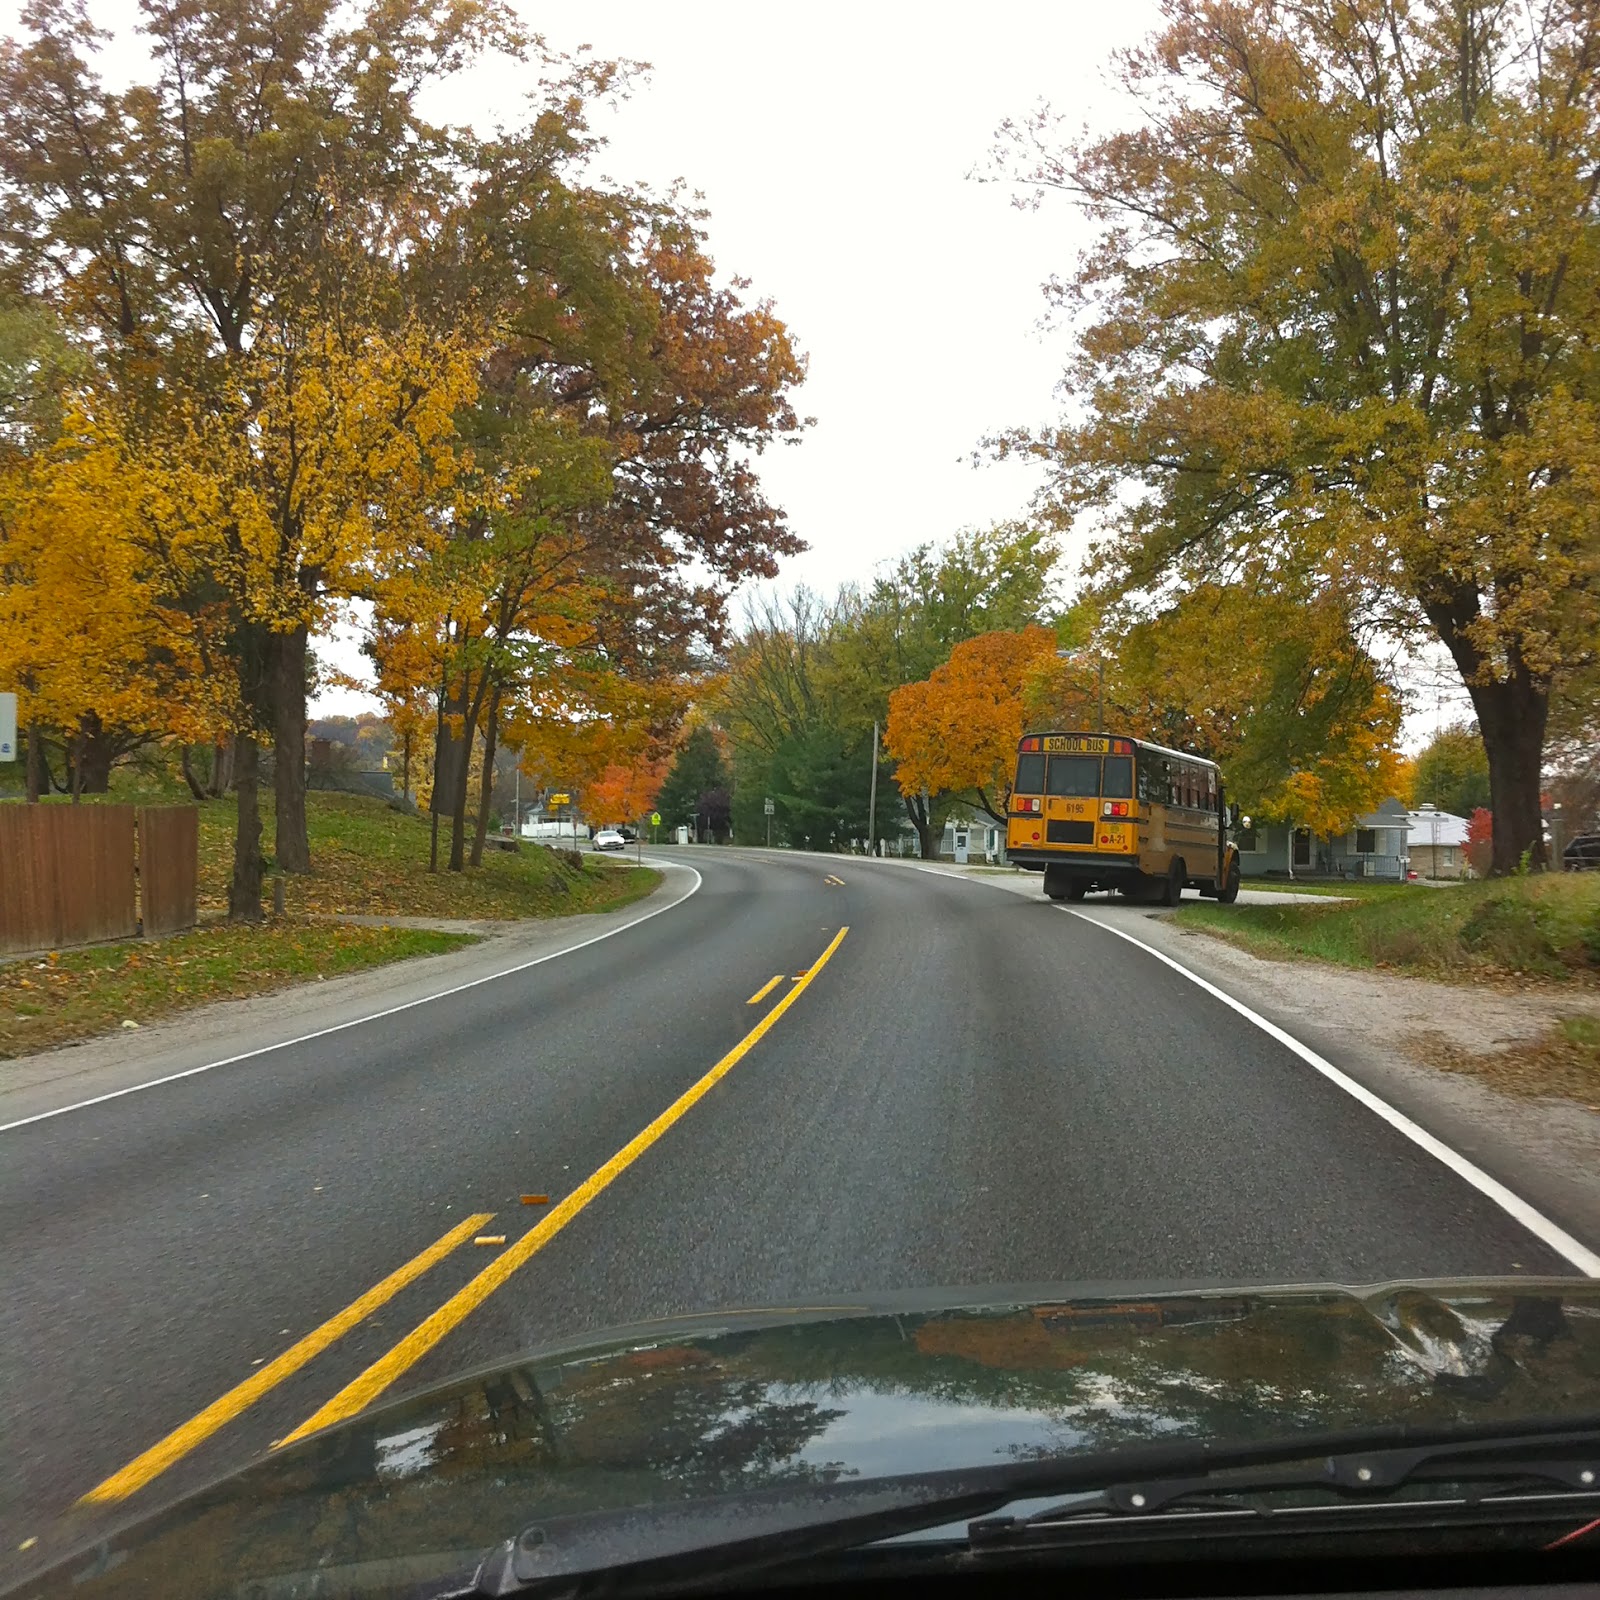
The leaves are indeed beautiful here right now.  I think they may have hit their prime during my last weekends drive north to Fishers, Indiana.  Thursday I headed north bound on State Road 57 for my 200 plus mike drive.  The terrain here, in the south of Indiana is quite wooded and hilly and it becomes much flatter the further north you drive.  Cornfields increase as the woods disappear.

Fishers is just northeast of Indianapolis the capitol of Indiana and it is located almost dead center in the state.  My camera did not capture the size of the hills but I think you get a feel for our fall foliage.

When I arrived Jack and Sam (my grandsons) were happy to have a whirl at a batch of Snickerdoodles.  I learned they loved these cookies most of all when I went to their Grandparent's Day earlier in the year.  This is the recipe I always use when I want the perfect cookie!  It is one I have used all of my adult life and came from an old Betty Crocker Cookbook, now without a cover and missing pages!


Here is a link to that recipe if you would like to try them.     thehiddenpantry.blogspot.com/2010/08/old-fashioned-snickerdoodles.html

They were most amazed to watch through the lit oven door as the balls of cookie dough melted into flat cookies and perfumed the house with the smell of cinnamon and baking.

On the way home I stopped in Martainsville and saw Grandma Powell.  She has again gifted me with more unfinished quilt tops.  This time with four additional making a total of eight,  

These quilt tops are also very old as seen in the fabrics.  More treasure.

9/21/13

Today the Crazy Quilt Ida Bell and Ellen started a hundred years ago has been finished as a cozy comforter using a blanket stitched Alpaca yarn to complete the edges.

I am fascinated by these fabrics. Not faded with time, not made in China, but old heavy prints like nothing seen today.
Today I just sat down and finished it.  It feels good to have done so!  After it's being stored in boxes and trunks and passed through 4 generations the bright colors and batting have been bound to flannel.  It looks just like it belongs on that big old oak sleigh bed in the south bedroom. 

Not mass produced coordinating prints but this is probably pieced from their clothing, maybe feed sacks too?
It isn't that I did anything special.  It is that something special is done by 3 women of different generations.  It is that an heirloom has been resurrected from scraps that will go to a child or grandchild.  I am pleased.

I love the look of a hand sewn blanket stitch and it works to my liking on this comforter.
Yesterday I stopped at the new yarn shop that has opened in out town.  It is large, and well appointed.  I sought Alpaca yarn for the edging and the owner Jennifer Wahle took very good care to help me find the perfect skein.  She calls her shop, Sheep Skeins, now isn't that a clever name?

This stitch serves a very good purpose both decorative and sturdy to hold the edges beautifully secure.
The yarn is soft and perfect and will never itch or cause anything except sweet dreams, I pray. The finished piece is quite large, big enough to cover over the pillows at the top and hang down over the edges of the bed!

If the edges do come into contact with my beautiful dreamers (grandchildren), there is nothing I can think of any softer than Alpaca.
It hangs nicely against the eyelet bed skirt and gives the room a bright and happy feel!

All of these ladies resided in Hamilton county north of Indianapolis.
You may recall that I have been entrusted with 4 unfinished pieces so this is one down and three to go!  Plus it took a year to get this far!  Hopefully I will do better as time goes on.....thehiddenpantry.blogspot.com/2013/09/finallyive-finished-label-for-vintage.html

9/19/13

Finally....I've finished the label for the vintage comforter today! Next time I will plan better!

Luella is my Grand Children's GREAT x's 3 Grandmother, and Ida Bell is their GREAT x's 2 Grandmother and I am just the plain old Grandma.  Grandma Powell is the GREAT x's 1 but she did none of the stitching but was the keeper until she gave them to me.
This has been so frustrating for me.  I want to sit and work on my sewing projects of which there are many!  But there too is life and it does not seem I can get to these projects I want to do so I carry them and then feel great relief when I finally finish even a part of something! Thus today between all of the this and that I sat and embroidered the names and some of the known dates of the ladies who will have stitched this comforter.

I had to take it partly apart to get back into it to do this but given a little time and luck I can finish it up soon.  I would like to use it in one of the bedrooms this winter.  It looks so warm and cozy.  Bright and cheery too.

9/17/13

Returning to finish the vintage comforter.....Plus My Favorite New Book and Sewing Blogs!

I am in love with this new book! There are big bold and beautiful illustrations for over 50 hand stitches of which I am greatly fascinated!  I can easily see them even without my glasses!
This week I have started back upon a project from last winter and I hope to get this one finished soon.  It is the vintage crazy quilt top pieced by Grandma Powell's mother and grandmother.  There were a few repairs to be made in the top.  Then, since it is dark as well as of heavier fabrics I choose to tuft or tie it after inserting a layer of warm batting and an underlining of soft flannel

Next I started folding the two layers under and lining them up to close with an almost invisible overcast stitch.  After which I plan to finish with a knotted blanket stitch.  Almost in an afterthought I decided to embroider the names of the three it took to conceive and finish what will be a family heirloom.   So yesterday I found my washable pen and a place for this to be done and started to embroider the names.  I had to remove some of the tufting to get to  both sides of the top.

Next time I will do this first before starting the assembly of the layers!

In the process of all of this I discovered a wonderful artisan in the UK.  She is Sarah Whittle and she composed "The Needlecraft Stitch Directory." An absolutely beautifully written and illustrated  book on hand stitching of many types. This is always fascinated me and I have other books on this subject. This is my new favorite!  Plus I was able to order it on Amazon for half of what it would have cost to purchase and ship from her blog site in the UK.

Here is her link if you would like to preview the beauty of her stitching.   sarahwhittle.blogspot.com/2011/02/raised-chain-stitch.html
I am planning to use her illustrated knotted blanket stitch to finish the edges instead of a binding to correspond with the yarn used in the tufting.  (Don't I get all wound up about these old things?)

There is also another blog I LOVE called Cambric-Cotton, Pins and Needles   posted by a wonderful woman in Australia.  Here is a link to her blog too:                                                                    cambric-cotton.blogspot.com

It is beautifully done and I enjoy it a lot so today I share these things with all of you.