Translate

Showing posts with label Tutorial. Show all posts

10/15/14

Tutorial, Hand Work, How to Make the Antwerp or Knotted Blanket Stitch

I love learning new hand stitching techniques!  This is one I am particularly fond of.  It is my second attempt to master it and as with so many things I was making it harder than it is!  I like anything with the blanket stitches worked into it and the Antwerp is a variation and is also known as the Knotted Blanket Stitch.

I am half way around the vintage quilt now and thought I would take a break and share this.  I am really enjoying this a great deal.  It is a chilly, cloudy, rainy, and rather bleak day but my tea kettle is warm and Molly is here on guard as always as I stitch happily away!

Start from the bottom folded edge and hide your beginning knot. Then pierce the needle through all layers about 1/4" above the fold and bring it down on top of the loop.
This is how it should look as you pull the needle through.
Now pierce the needle back front to back through the bottom of the taught lower portion of the loop.
Next bring the loose end of the thread or yarn first beneath the needle than over and across the front.
Gently but firmly pull until the knot tightens.
Repeat the next stitch.
I  try to hide my knots starting and finishing by pulling them into where I over cast stitched and closed the front and back fabric of the quilt.  This is a stitch that is also used as a decorative edging.  I like it because it presents itself and not only attractive but quite durable and long lasting.

9/19/14

Apple Pie Filling to Freeze, Just POP the Pre-Formed Frozen Filling into a Pie Shell and Bake, TUTORIAL

One of 4 pot pie sized TEST PIES made today,  delicious!
As hoped, I felt great this morning and stood at the sink at 5:00 Am and peeled 10 pounds of the home grown apples from our friends the Linton's.  This yielded 7 pints of peeled and cored fresh apples to process.

NOTE:  10-1-2014,  THIS MORNING I PEELED ANOTHER BATCH OF APPLES AND HAVE 3 PREPARED PIE PANS WITH FOIL, PLASTIC WRAP, AND THIS DELICIOUS APPLE PIE FILLING COOLING IN THE KITCHEN FOR A TOTAL OF 5  THAT WILL BE IN MY FREEZER BY NOON TODAY.  I'M SMILING!

I don't mind to peel and core when the end result is pie filling frozen in disks for another day!
Here is the recipe I have adapted from the Ball Blue Book plus I am making a test pie to be sure this is worthy of my time. (There are 20 more pounds of apples in the downstairs refrigerator.)

Prepared apples in a ascorbic acid bath keeps them from turning brown.
Ingredients for Apple Pie Filling for the Freezer:

7 pints (14 C. ) peeled and  cored cooking apples
2 quarts clean water
8 t. ascorbic acid or fruit fresh
2 1/2 C. flour
1/4 C. + 2 T. flour
2 1/2 t. ground cinnamon
juice of 1 fresh lemon
pinch of salt
1 1/2 t. vanilla

Fruit Fresh.
Place the apples in a bath made of the water and ascorbic acid and you peel and slice them.  This will help retard browning of the fruit.  When this prep is complete  scoop the apples out by handfuls and measure into a very large soup kettle, best if it has a heavy bottom.   You should adjust the recipe based on the amount of apples you have and your preferences.

Add the remaining ingredients to the pan of apples and stir together will.  Let stand for about 30 minutes for the juices to begin flowing and stir again.  Heat over medium heat stirring occasionally for about 15 minutes.  The juices should thicken.  Reduce the heat to simmer and cook another 15 minutes.  Turn off the heat and let the filling cool for NOT to exceed 2 hours.

Add remaining ingredients.
Mix well and let sit 30 minutes for the juices to form.
Heat over medium flame and bring to a boil, then simmer for 15-20 minutes.


My method for freezing is to line a 8-9" pie plate with wide heavy duty foil, then place plastic wrap crossing 2 large pieces over the foil.  For this amount of apples I yielded enough to make 3 pies.

First line pie plates with wide heavy duty foil.
Next make a cross with two sheets of plastic wrap to line the indentation.
One I will bake now using the French Pie Pastry in the previous days post and freeze the other two amounts of filling.      thehiddenpantry.blogspot.com/2014/09/french-pie-pastry-in-food-processor.html    Actually I made 4 pot pie sized apple pies and a "Grandma Cookie" from the left over crusts using the pastry prepared yesterday.

For pot pie sized pies quarter one disk of pie crust.
Form each piece into a ball and flatten.
Line 4 pot pie tins and repeat with the second disk of crust to make top crusts.
Roll left over dough, spread with butter, sprinkle with cinnamon sugar.
Roll up, seal ends and edges, make slits for Grandma's Cookie. Bake with pies.
Ladle filling into the 2 foil and plastic lined pie plates and fold the plastic wrap across the top to seal.

Ladle cool filling into prepared pie plates.
Gather first the plastic wrap all around snugly then the foil.
Place in the freezer until solid then label and store.

Fold the foil across the plastic wrap to seal again.  Place the pie plates with the foil, plastic wrap, and filling into the freezer.  Freeze until solid.  Remove the pie plates and label and date the frozen wrapped disks of filling.  Just unwrap the frozen filling and poop into a crust and bake when needed.  My suggestion for a double crust pie is at 375 degrees F. for 50-70 minutes.

4 Pot Pie sized apple pies.
For my trial pies I directly filled my bottom crust and then dotted with about 2-3 t. butter and added the top crust.  After fluting the edges I brushed with 1 egg yolk mixed with a tablespoon of water and sprinkled with sugar.  Then I baked as above.  Note: I baked about 10 minutes less for the 4 smaller pies and the Grandma's Cookie.   AND BY THE WAY THEY ARE VERY GOOD.  YUMMY IN FACT.

One Grandma's Cookie.
Yield filling for 3, 8-9" pies or 2 fillings to freeze and a 9" pie or 4 pot pie sized pies and a Grandma's Cookie.

I also like home canned apple pie filling which admittedly is more work but here is the link, it is delicious and I often give it as a Christmas gift.    thehiddenpantry.blogspot.com/2012/11/canning-apple-pie-filling-my-revision.html

9/18/14

French Pie Pastry in the Food Processor, Easy and Delicious!

The pastry handles beautifully!
I am working up to making a new recipe for cooked Apple Pie Filling that I am going to freeze to fit into a prepared crust as in the Peach Pie Filling I recently posted.  With that in mind I am going to go ahead and prepare the pie pastry to have ready in the refrigerator so I can make a test pie the morning I get started.

I have had the apples for a week now but they were picked the same day I got them so there is no big rush there.  Yesterday morning I got another round of shots in both knees so it takes me a day or two to get back to full speed.  I am thinking tomorrow morning I will do the first 10 pounds.  I expect that to be enough for 3-4 pies depending on the amount of waste.

I really do like the canned apple pie filling I have made the last 2 years and I prefer the cooked apples.  But, after coming across a Cooked Apple Pie filling you freeze in my Ball Blue book and thinking to adapt that to the method I used for the Frozen Peach Pie filling I am anxious to do a test batch!

But first things first!  Yesterday I saw while doing my hand sewing, Melissa d'Arabian  on her $10.00 Meals Program this Pie Crust she made in the processor.  I have made this basic recipe before and had issues of the butter getting too warm to work easily.  Her specific tips about dicing the butter and placing it in the freezer and then using the pulse action of the food processor sound like "IDEAS I WISH I HAD THOUGHT OF!"

Cut the butter into dice like pieces and stick in the freezer a while before making the crusts.
But I will add my own HELPFUL HINT of saving and freezing the butter wrappers for using in buttering dishes later as needed!

Freezing butter wrappers comes in so handy for greasing pans and dishes and no messy hands!
Ingredients for French Pie Pastry in the Food Processor:

2 sticks of butter, cut to dice and frozen
2 1/4 C. flour
1 t. salt
1/2 C. cold water  (8-10 T.)

When the dough comes together you are ready for the nest step.
Place butter, flour, and salt into the food processor and pulse until a coarse sand like consistency.  Next add the cold water a tablespoon at a time pulsing until the pastry comes together and starts forming a dough.  Dump onto a floured surface and gather together to form a ball. Split into two pieces and form them into two disks.  Wrap them well and place into the refrigerator for 30 minutes or up to 3 days or freeze for later use.

This is the easiest pie dough ever!
Ready for the refrigerator or freezer.
Before rolling take them out for 5-10 minutes to soften just a bit.  Roll on well floured board and proceed with your favorite recipe. Don't forget to label and date if you freeze.  Generally for a two crust 10" pie I would bake at 375 degrees F. for 50-70 minutes.  If the edges brown more than you like cover with strips of foil.  OPTIONAL brush with an egg yolk mixed with a little water and sprinkle with sugar (or cinnamon and sugar) before baking.    Yields two 10" pie crusts. 


7/10/14

Easiest Way I Know to Cut Corn From the Cob, Another Helpful Hint!

This is a super handy way to cut corn from the cob.  First you need a medium to large size bowl, depending on how much corn you are cutting.  Next place a flat bottomed coffee mug upside down in the center of the bowl.  This acts as a platform to rest the end of an ear of corn upon.  Using a large sharp knife slice down the cob stopping just prior to touching the end of the coffee mug. Rotate the cob slicing away until all of the kernels have been removed.  Continue with each ear of corn.

This can be done before or after cooking.  I often do this with leftover corn and make fried corn the next day.  Sometimes I freeze in one cup portions for use later in soups.  At any rate it is the easiest way I have found to do the job.

Easy clean up just rinse the items and dry and you are done.

8/14/13

Sewing Again! Velcro Fasteners, Starting the Border Print Bag, & Sharing My Button & Spool Collections. Yikes, Emergency Assistance and Glad to Help!

Wooden Spools Are No Longer Made So I Collect Them, Just Because I Like Them!
Tuesday turned out to be quite a day!  For starters I put all 10 sets of Velcro fasteners on the reversible bibs and started the boarder print bag.  This did not go so easily as I had imagined it might!  Out of probably 250-300 spools of thread  I couldn't come up with navy blue thread!   So I thought I would use black instead but noted that I should add that to my list for this mornings trip to Hobby Lobby to purchase white satin blanket binding.

They were out of white blanket binding but thanks to a gal named Johnnie I was able to order on a rain check and get the 1/2 off sale price.  She made me a "come again" shopper with this customer service action!  Special thanks to Johnnie.

The fuzzy side of Velcro.

The looped side.


I have collected almost a gallon jug full of wooden spools.  Not because they are worth anything but because I like them.  The new and improved plastic ones do not endear me a bit.  But, I can still see my Dad, when as a little girl, he made little toys for me from wooden spools as we both sat in the living room of my Grandmothers house, now all long gone except in my memories.

My Button collection needs work.  There are many waiting to join these!
I also have quite the button collection for the same reason.  Just because I like them.  Jars all separated by the number of holes or the way the button fastens.   There are may waiting to be sorted and join these.  Plus there are several hundred old cards of buttons waiting for something too!

Now, back to the boarder print bag.  When last I worked on this I had cut 2 panels for the bag and 2 panels for the lining, all the same size.  I had found trim for the straps and handles that coordinate.

So I matched the panels at the bottoms so the print would run in the proper way when done and  stitched a 5/8" seam for the bottom of the bag and for the lining.

Next I pressed the seams open for both bag and lining and set these pieces aside for now.

The braid is an issue because it is not as sturdy as I would like and unfinished looking on the underside.   To use these as handles I need to sew two pieces together wrong sides together.  This will afford us a much longer lasting and sturdy bag.

My rule of thumb is 4 times the top to bottom measurement of one panel of the bag plus 24" x 's 2 for the handles.  But for this project (and for some others I have done) this measurement is DOUBLED.
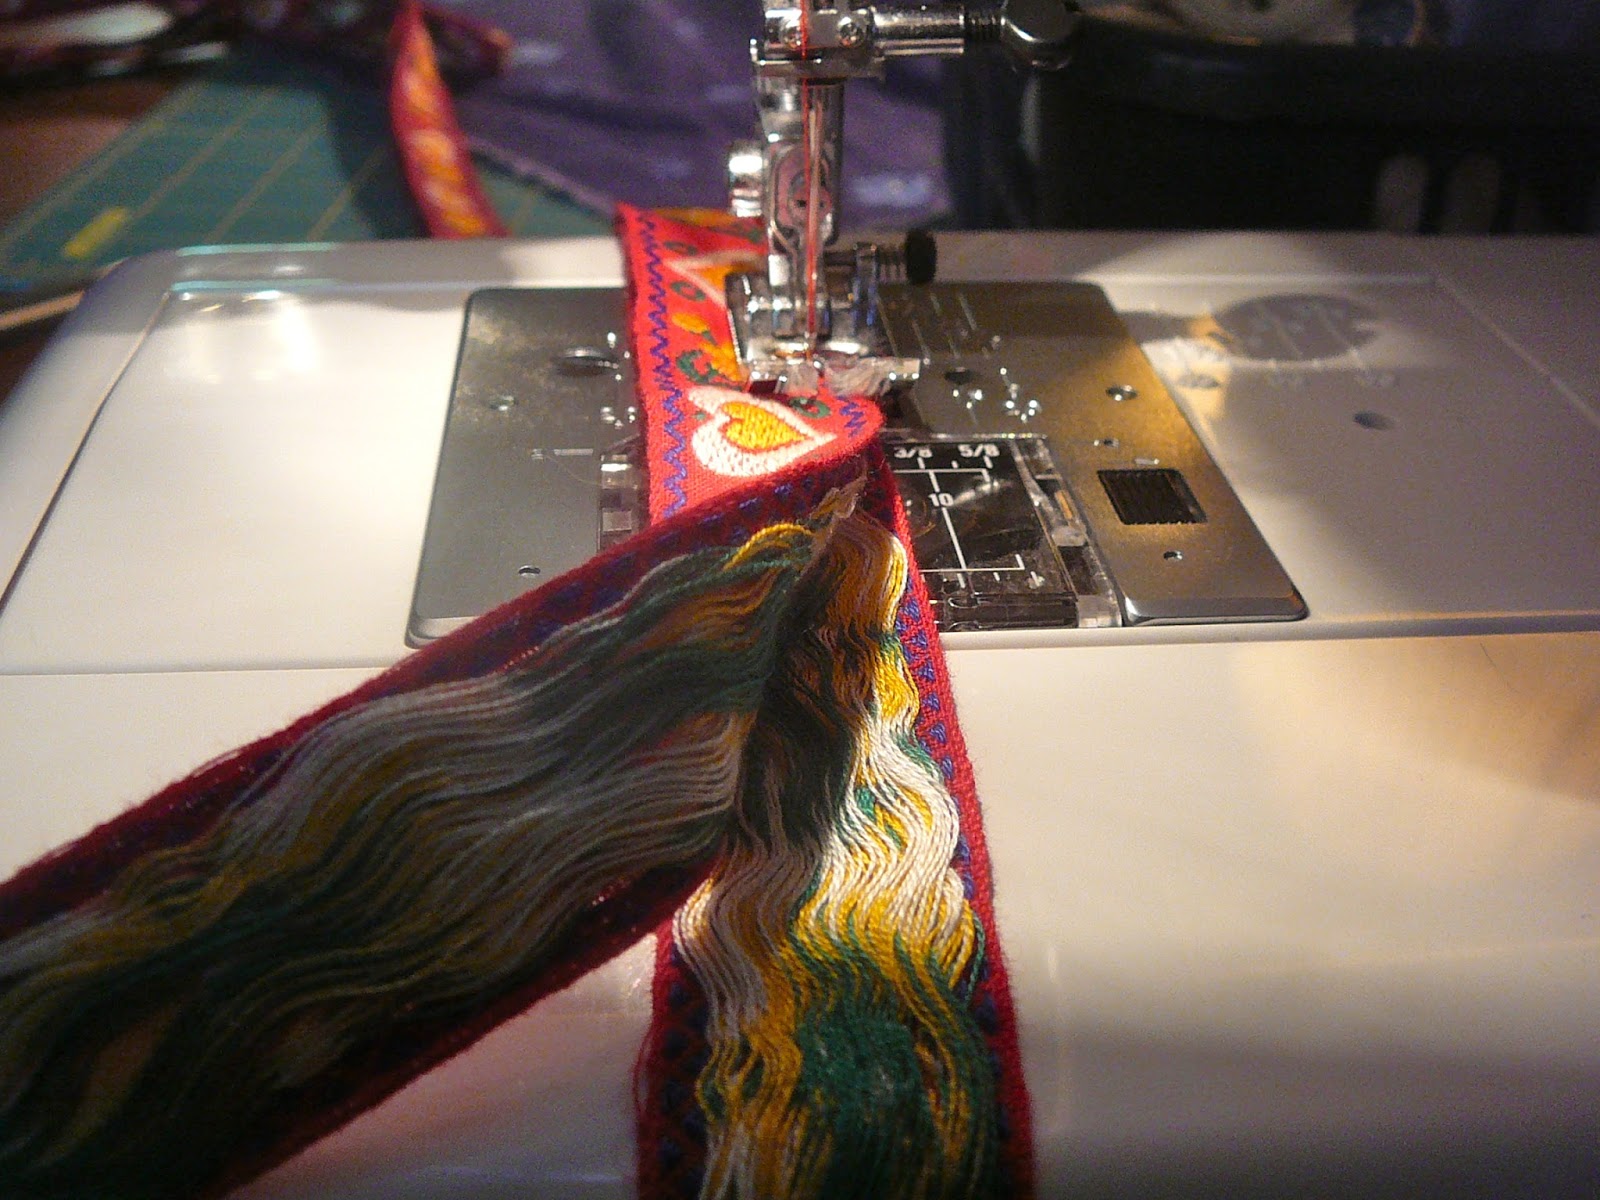
Now sew the 2 pieces of braid together wrong sides together lengthwise.  

This is how I pin and sew the strapping.
The next step is to mark 4" from the outside edge of the sides of the panel and 2" down from the top.  I pin the long piece of trim starting near the bottom seam of the bag. Then pin the strapping material to the bag.  I overlap and fold under the final end.  DO NOT SEW PAST THE TOP 2".  Rather cross from one edge to the other and sew back down the other side.
I sew about 1/16th " from the edge and cross across the strap 2" from the top edge of the bag and come down 1 /16th " from the other edge.
 I have gotten a "Please Help" request.  So for a few days I will stop here.  I need to hem a half dozen or so banquet tablecloths for a shower this Saturday!  Then  just like Arnold.......I'll be back! 


7/29/13

The "Little Baby Bear Bag" is just too cute for words! And here is how to make, a TUTORIAL.

"Little Baby Bear Bag" is looking for a new home now that I have him finished.
I love this fabric!  I would go buy more if I could find it.  It is so sweet!  Gosh I am having such a good time!!  Me and my sewing machine are just having the time of our lives here!   And cute, cute, cute, is this fabric and this "Little Baby Bear Bag" as I have aptly named it!

I think he may be looking for a baby boy??
I have taken a remnant of a baby bear fleece and thought it just enough for an extra tote bag for baby.  You know you can never ever get everything into one bag!  At least I never could.  Or it is great for display or just to keep "stuff" in....

This is just plain good fun!
I did make a special trip last Friday for red strapping.  I thought the contrast would be perfect as was the red cotton with tiny white hearts I picked as the lining material.

First thing is always to wash all of the fabric you are planning to use and then dry and press.  (Of course don't wash if it is a "dry clean only" fabric.)   This takes care of shrinkage, and rids the fabric of any finishing chemicals.  I had done this last week in preparation.

I used all of a remnant I had but the dimensions are up to you they can be however large you like.  It is the rules to go by I an happy to share.  This piece was about 26" x 36" and the main thing is to determine how you want the pattern to run.

The other big thing in my book is to be able to make something that will hold up and last.  The first bag I ever made was 34 years ago for my sister when she was expecting her first child.  The key to their holding up I believe is how you apply the handles or straps.  Linda is still using her bag and it shows little wear or age.

Notice the only seam I have sewn is to join the bottom of the bag.
The first example I will use is the way I laid out the fabric and the straps.   Cut 2 pieces of the fabric you have chosen for the exterior of the bag.  Since I have bears and the pattern has an obvious top and bottom I place the right sides of the fabric together facing each other with both tops up and bottom of the pattern at what will be the bottom of the bag facing each other.   Sew a 5/8" seam across the bottom and press it open, clipping any excess threads.   Above you will note the seam is at the center of the fabric running left to right in the center and I have laid it right side up.  Next I pin the strapping 3" from the raw outside edge.  I USE ONE CONTINUOUS PIECE OF MATERIAL FOR THE STRAPPING.   I leave 24 " between where the strap comes up and then goes back down to from each handle.  Generally I start the end of the strap towards the bottom of the bag and I overlap 1 1/2"-2" when I come to the end.  Always backstitch and always trim the extra threads.

Here you can see the seam that formed the bottom of the bag as well as the straps as I have pinned then to sew..
You can use gross grain ribbon or other decorative woven strapping for this.  Edge stitch all of the way around both sides of the strap material and stop 1" BELOW the top edge of the bag.

Do NOT sew it all of the way flush to the top edge of the bag.  You will just sew across the strap and start back down until each side has been done.

Next with the right sides of the bag facing each other and the straps pulled out of the line of stitching sew the sides of the bag together with a 1/2 " seam back stitching and trimming the threads.

Sew across the corner and back stitch to form a box bottom.
If you would like you may leave the bag flat as it is or if you prefer a box corner pinch the corner the opposite direction and stitch across the corner as pictured above.  If you box this corner you will need to also box the lining.  Set aside for now.

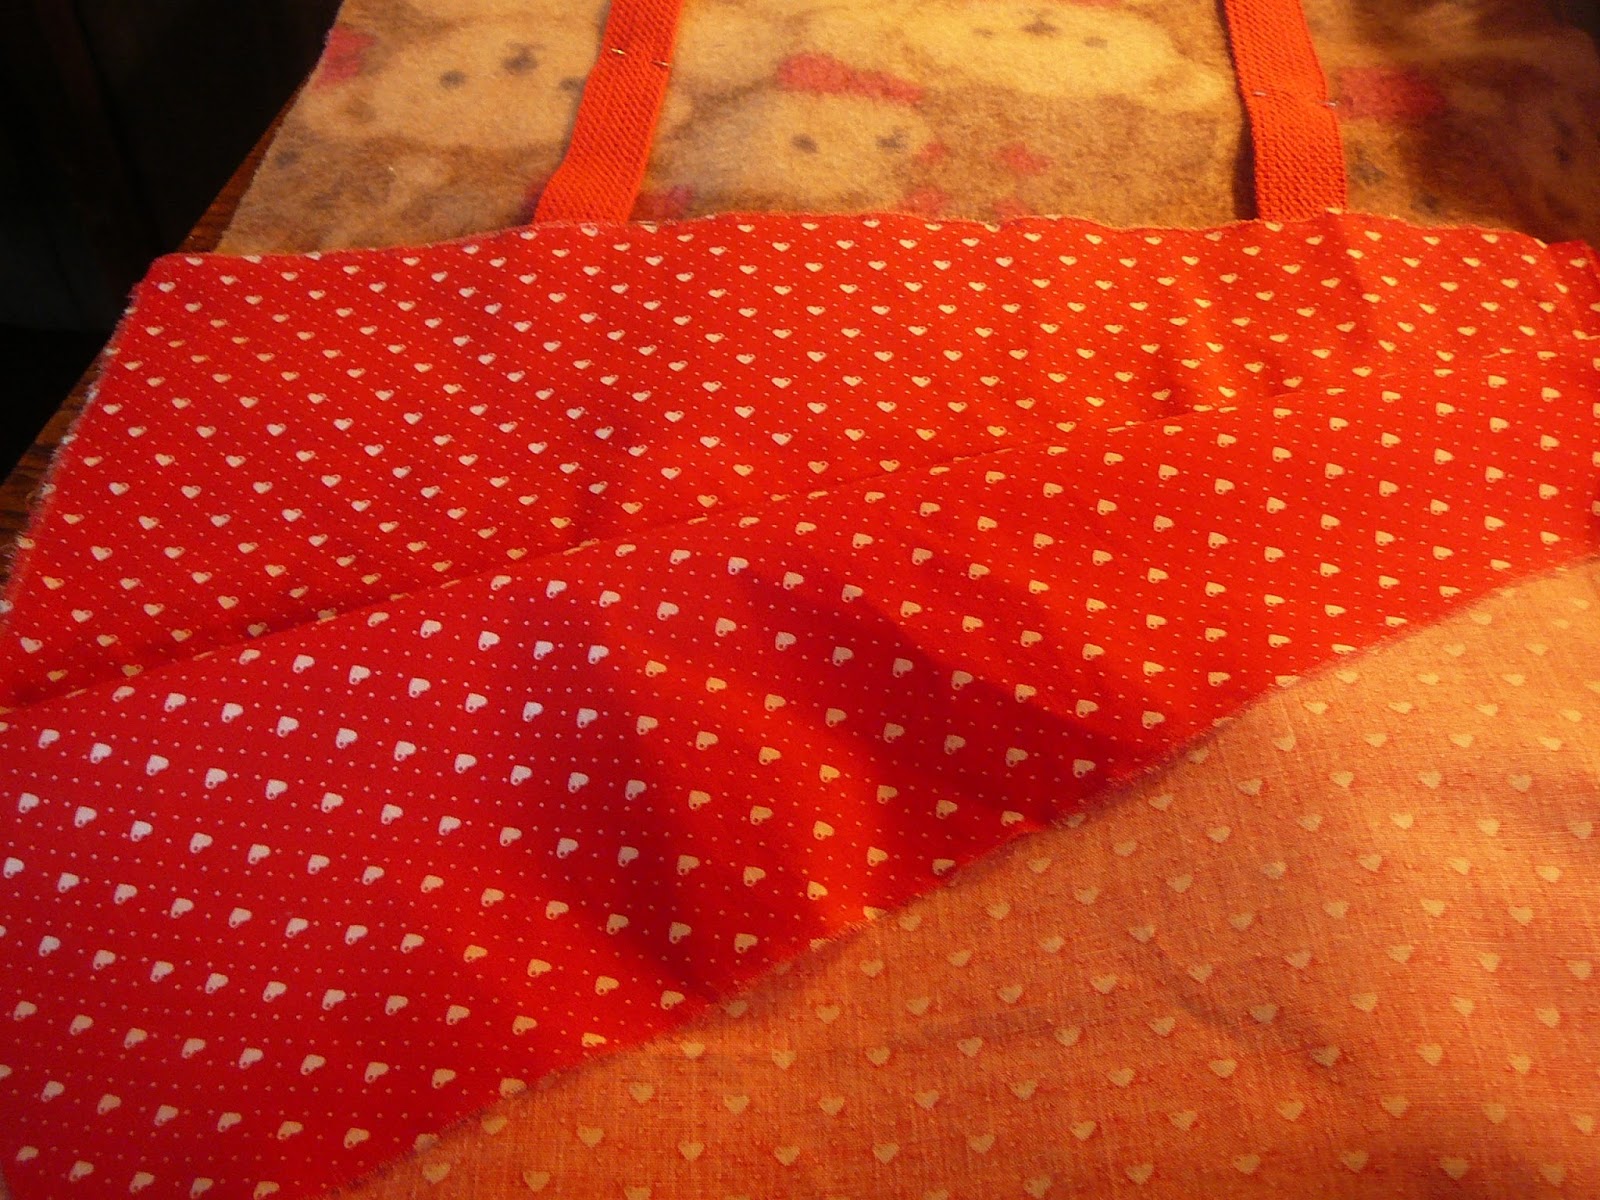
The little white hearts are facing each other with the pattern right side up.
Place the right sides together facing each other and the top of the pattern up top with the lining fabric and sew the bottom seam as you did for the bag's exterior.  Sew the side seams together and press the seams open and clip the threads.  Always back stitch your sewing.

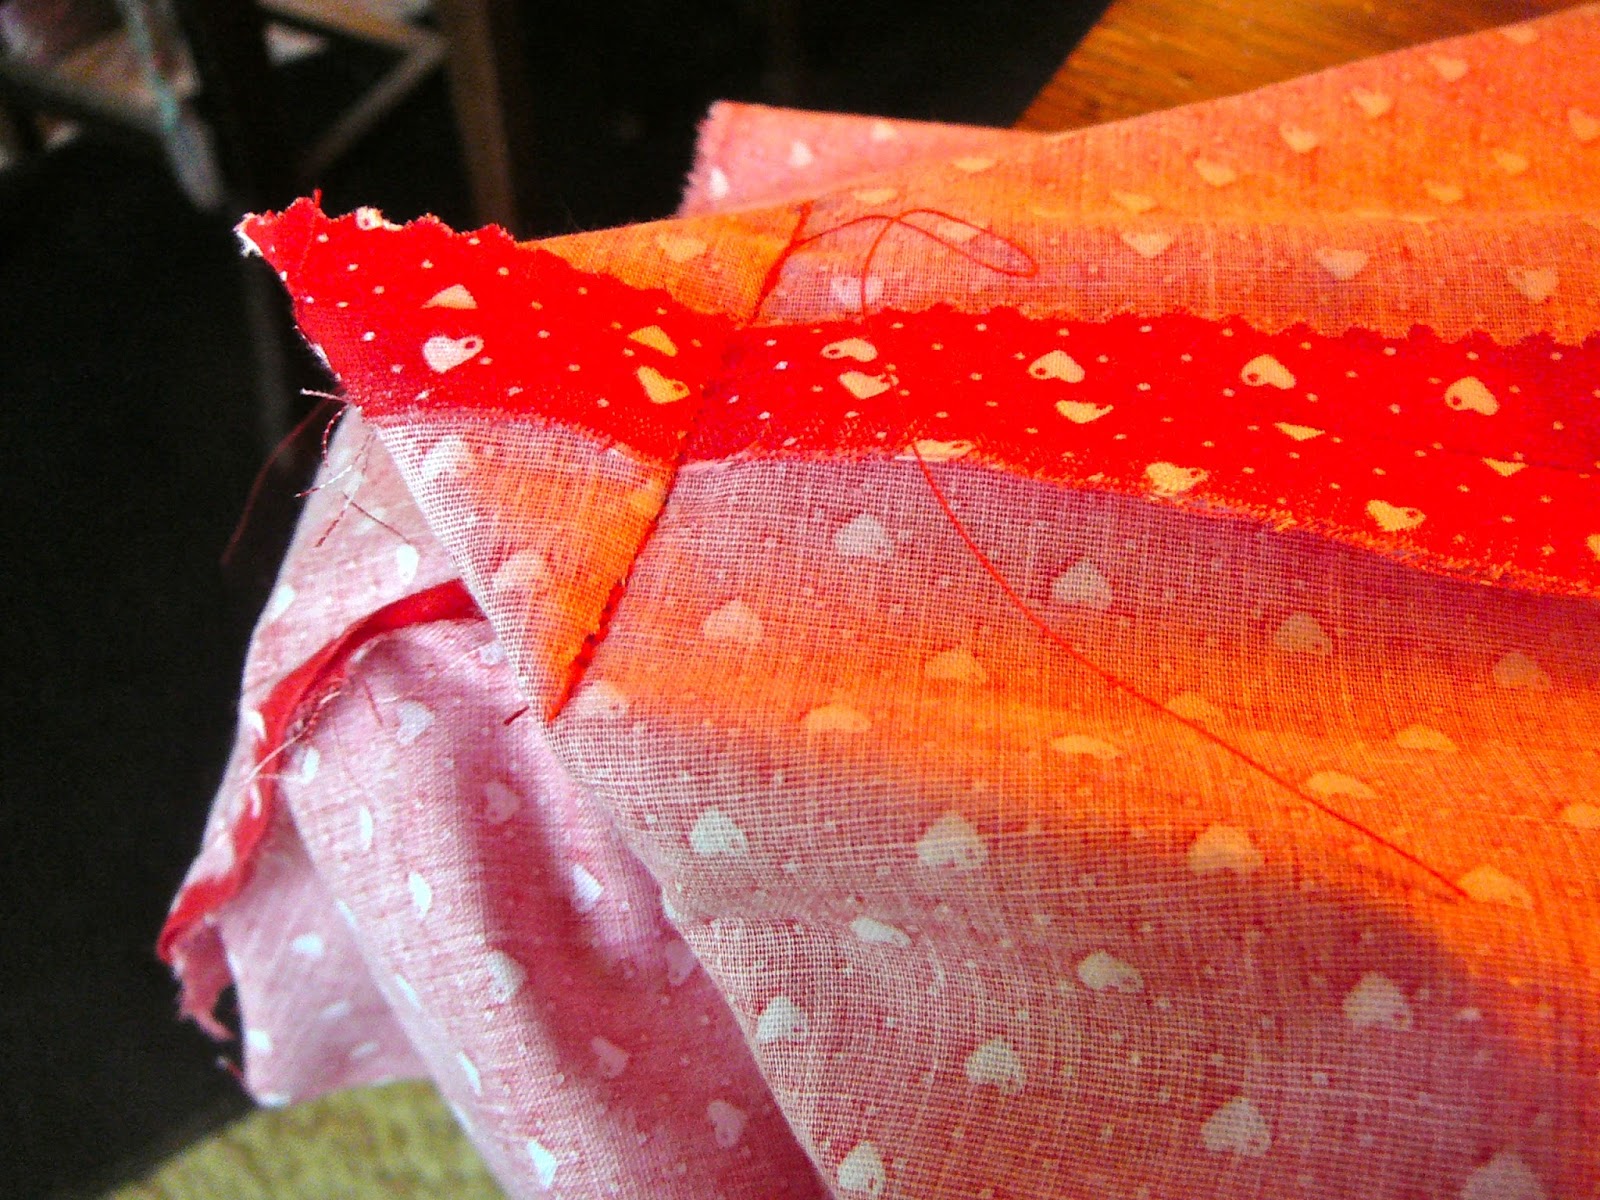
Sew across the corner.
Clip off 1/4" above the line of stitching on both the lining and the bag.

Form the box corners and sew.  Next trim across 1/4" from your line of stitching on the lining and on the bag.

Press the raw top edge of the lining under 1/4" all of the way around and then edge stitch.  If you have cut the bag and the lining material exactly the same size and sewn the seams all the same size the next part will be perfect.

With the RIGHT side of the lining turned inside so you are looking down into it place the lining down inside of the bag.  You will have the two edges at the top.  Fold the outside edge of the bag under 1/4" and pin it against the finished edge of the lining you edge stitched under earlier.  Ease any fullness evenly and pin securely.

All done!
Top stitch the edges together 1/8" from the top edge to finish the bag.  Sit back and smile!

I think a couple of those cute reversible baby bibs tucked into this bag will make a lovely gift.  And it was made in Newburgh, Indiana, USA.