Translate

8/31/13

Baby Boy's Cuffed Striped Bag! (I could never get everything in my Diaper Bag!)

Sturdy and roomy enough for toys or anything else extra that might be needed,
This is the last of my current baby gifts and this is for a little boy.  The bibs are ready to tuck inside.  I just need to get to it!  I enjoy thinking up the "look" and the "feel" of each bag and for this one I am thinking "Rail Road Engineer"  for the theme and for the color combination.  Truth be told I have made this one already in my head!

My fabric selection is washed, dried, and pressed, including the cotton strapping material.
I have maybe 3 yards of navy blue and white canvas ticking stripe which is sloshing away in the washing machine as I write!  I went to Hobby Lobby (My new "go to" store for notions, love their coupons!) and purchased red cotton strapping.  I spied a red bandanna print for 30% off and liked it better than anything I already had so it and the strapping has already made it through my laundry and I stand ready to cut and sew in the morning.  Friday,  8/30/13,  5:20 PM.

I want to highlight the lining because I love the contrast of the red pattern against the navy ticking stripe so I am going to make the bag with a border across the top a couple of inches deep with the red bandanna material as well as use it for the lining.  The body of the bag will be the navy ticking stripe with the contrasting straps of the red cotton.

Do you remember how the engineer on the trains dressed in years gone by?  I can still see in my minds eye the engineer dressed in blue striped cap with a red bandanna around his neck and bib overalls!  We lived out in the country and a rail road bordered the side pasture.  In the summer if we were out in that field cutting thistle or getting the cows we would see them close up waving to us as the freight trains chugged by....And of course we waved wildly back thinking it all a thrilling adventure.

Straps sewn on and seams stitched!
I started the bag using the same steps as is outlined in the link      thehiddenpantry.blogspot.com/2013/08/just-finished-2nd-baby-gift-after.html      and you can click here to go to those instructions.  I did make a few changes.

I really like the boxed corners on the bottom of this bag.
After pressing the newly laundered fabric and strapping I tore the body of the bag and the lining to the exact same dimensions.  Next I attached the straps 6" from the outside raw edges and 4" BELOW the top of the outside of the bag  edge stitching both sides of the strap and reinforcing with a crossed box at the top as shown in the link above.  Next I stitched the side seams and boxed the bottom.

It is much easier to be sure this is exact before the final stitching.
I repeat the same process with the lining but I ALWAYS stop before I close the second side seam and hold up the lining to the bag to see where EXACTLY the seam should end to fit PERFECTLY.  This saves a whole lot of grief later on!

Basting holds the fabric in place and keeps them from stretching out of shape or slipping.
Then I slip the lining down inside the bag wrong sides facing each other and pin the two raw edges of the bag and lining together.  Today I moved the sewing machine to it's largest basting stitch and sewed the bag and lining together 1/4" from the raw edge.

The bag could have stopped here but I want it to have more of a cuff and have left 4" instead of the 2" I usually leave above where I stop the straps to have more to fold down at the top..
After pressing under and then again edge stitch closed.  I like finding and attaching a little label that says I cared enough to make this just for you.

Sew some love.
That is just what I did next!

To form the "cuff"  fold down and machine tack just above the straps and on the side seams.
It is 2:00 PM Saturday and this is all done!

Just a quick double check to be sure all of the strings are clipped and it is good to go!

8/30/13

Toasting White Breakfast Bread, I give this one 5 Stars*****, Using Dough Cycle of Bread Machine and Baking in My Own Oven.

My perfect breakfast food.
My favorite breakfast food has always been a slice of hot crisp on the outside and tender on the inside toast, with or without eggs and such.  Just slather with a bit of soft butter and I am good to go.  After noticing the bread box was slim I looked at my favorite flour's website, King Arthur.  I have used their flours almost exclusively for almost 15 years having ordered it before our local grocery began stocking it.  As I perused  recipes this one caught my eye and so I made it.  I found it to be well worth the effort and thoroughly enjoyed my toast this morning!  Their link is     kingarthurflour.com      and I have liked the biggest part of the recipes I have tried from them.  Here is my adaptation of their recipe.

Ingredients for White Breakfast Bread:

1 1/4 C. water 105-115 degrees F.
1 1/2 t. kosher salt
1 1/2 T. room temperature butter
2 T. sugar
1 1/2 T. nonfat dried milk
3 3/4 C. King Arthur unbleached all purpose flour
1 1/2 t. instant yeast

Remove the bread pan from your bread machine insert the mixing paddles correctly.  Add the warm water and butter.  Using a piece of waxed paper or a bowl assemble the salt, sugar, dried milk, and flour then add to the top of the liquid without mixing.

Just make a shallow trough with a spoon.
Draw a clean tablespoon the length of the bread pan WITHOUT getting into the liquid and sprinkle the yeast into the trough you have formed.

Set the machine to the dough cycle and start.  I usually check about 5-7 minutes into the kneading cycle to be sure all is well.  Because in the variation of the flour due to humidity you could add a sprinkle of water or a tablespoon of flour now if an adjustment is needed.

Upon the dough cycle completing remove the dough to a very well buttered loaf pan and slather the top of the loaf with soft butter.  Cover and let rise in a warm place until the loaf has doubled, about 1 hour.

Beauty is a freshly made loaf of yeast bread.
Preheat the oven to 425 degrees F.   Remove the middle oven rack as the bread will bake better on a lower rack.  After the dough has risen bake 25-30 minutes until dark golden brown.  The loaf should sound hollow when thumped.

Slice with a bread knife or an electric knife will do nicely also.
emove the bread from the pan as soon as you take the loaf from the oven and cool completely on a rack.  Store tightly wrapped and slice with a bread knife.  Yield a 1 1/2 pound loaf.

Note:  Lately I have been using the dough cycle of the bread machine a lot.  I am thinking about being so far behind in things I am trying to get done and this saves me a lot of time although I enjoy making bread by hand very much.  I am a big fan of both!


8/29/13

Beaded Raindrops Above the Parasol, a Finishing Touch.

Just enough bugle beads were added to catch an occasional glimmer and give the effect of a rain shower .
Something kept tugging away at me after I concluded I was finished with the drawstring bag last evening.  At any rate this morning it came to me, raindrops, I needed to add raindrops above the parasol.

I first thought of clear sequins to catch a glimmer and grabbed my embroidery bag.  Upon opening it a lightening bolt struck as the clear glass bugle beads glimmered in the same small case within the bag as the sequins are stored.  As Brian stood in the kitchen pouring a second cup of coffee I asked him to grab one of the small dipping bowls stored in the same cabinet.  Of course I sat still in my pajamas and on my first cup of hot black coffee as he smiled and handed me the tiny bowl.

When you work with bugle beads it hastens the progress to dump a few into a small container that allows you to stab through the tiny hole at their center with your slender needle......I sought both clear and a few red beads to further enhance the color scheme I had started.

Next I fiddled until I found a needle slender enough to pass through the holes in the beads, not all will work!  And, I spied one of my embroidery hoops a tool I had not thought of either but proved very helpful.  I broke down embroidery floss to one strand, threaded the oh so thin needle, and randomly attached the tiny beads above the pink vintage crochet parasol.  Now there are raindrops.

Slow is the process but the result gives me the feeling it is now really done and ready for delivery.

8/28/13

Polka Dot Drawstring Bag with Vintage Crochet Parasol Applique, Gift #3 Completed

I have always liked pink and brown together and am happy to have found the vintage applique to use too.
I have been in love with this pink vintage crochet parasol applique since the first time I saw it.  When I spied this pink and brown polka dot fabric and a pinkish salmon solid a monochromatic color scheme came to mind.  I had two gross grain spools of ribbon on hand one more orange and one more pink and decided on the pink, so I sat down this afternoon and made this draw string bag.

I started as I usually do by tearing the fabric to the dimensions I need.  I had already laundered and dried it weeks ago.  Next I did the same for the lining fabric and proceeded.  After sewing the seams and making box corners at the bottom I did the same for the lining.

Since I was in the mood to do something a little different and I like drawstring bags that is where I went next.  I dropped the lining down into the bag so the wrong sides were together and pinned the top.  Next I folded to the the outside both the lining and bag 1/4" and sewed them down stitching along the folded edge.

Next I pinned on the applique and stitched it in place through both the bag and the lining.

I sorted through my labels and found just what I wanted to say and attached it on the opposite side of the bag inside on the lining.

I choose the pink gross grain ribbon and stitched 2 pieces together to double the strength of it.  Finally I turned the top of the bag to the outside 2" making a contrasting solid pink case to insert the ribbon into.  I marked 2" to leave openings at the 2 side seams and sewed the front and back casings closed, stitching right on top of the last row of stitching I made when I turned the edge under 1/4".

I grabbed a large safety pin and attached it to one end of my finished ribbon and drew it through easily.  When I had it all the way through I sewed the ends together securely.  I pulled the ribbon through to hide where I had sewn it together and adjusted it until I had equal straps on both sides.  All done!!

8/26/13

C,D,Q Bread (Can Do Quick Buttermilk Yeast Bread) and Easy Menu for Impromto Dinner for 10.

If you enjoy a fast made, soft, even grained, and with a chewy crust, white bread this is the loaf for you!
It seems we're having an extra 4 girls for dinner.  Could it be because I said I would have a loaf of home made bread for Emily to take back to school with her?  Mike just text-ed to see if it was OK for 3 of her room mates to come plus I said Kate could ask a friend!!  The more the merrier!  I don't think we have ever had this many girls in our house all at once in 39 years!  We have had tons of boys though!

This recipe was adapted from Betty Crocker's Cookbook of many years ago.  It is so worn it has no cover and the first few and last few pages are missing from age and usage.  It was called Quick Buttermilk Bread with the C.D.Q. noted in the beginning caption.  I have changed it to make in my bread maker to save time today.  I used the dough cycle which I believe is 1 hr. 50 minutes but you MUST watch it because it had risen to the top way before the cycle ended.  This is by far the fastest loaf of yeast bread I have ever made.  ( I probably would have called it P.D.Q. bread! )

Bread makes differ as this is my second one.  This one preheats the ingredients which causes the cycle to hasten even more.  So should you choose to make this you MUST KEEP AN EYE ON IT or you WILL HAVE A MESS.  I caught it just as it rose to the lid or I might have had a big mess too.

This makes a big loaf of very soft white bread with a chewy crust.  

Ingredients for C.D.Q. Bread:

2 pkg. active yeast ( I used 2 scant tablespoons of instant yeast)
3/4 C. warm water 105-115 degrees F.
1 1/4 C. buttermilk
4 1/2-5 C. flour
1/4 C. melted butter
2 T. sugar
2 t. baking powder
2 t. salt
soft butter

Butter generously a 9" x 5" x 3" loaf pan.  In the bottom of the bread maker pan pour the water, buttermilk, melted butter then add the sugar and salt.  Next pour in the flour covering the liquid end to end.  Take a clean tablespoon and draw it though the flour NOT getting down into the liquid, from end to end long ways, forming a trough.  Sprinkle the baking powder and yeast into the trough end to end.

NOTE:  If your bread maker does not preheat all of the liquids together should be between 105-115 degrees F. or if you make this in the traditional fashion it should be the same temperature.

Set your bread maker on the dough cycle and WATCH it as this is a very quick dough.

I smear well with soft butter and cover with a flour sack towel to rise until doubled.
When it becomes obvious the dough has risen and doubled, turn it onto a floured board.  Roll or pat with your hands to a 9" x 18" rectangle.  Tightly roll up beginning at the short side.  Press the ends to seal and fold the ends under the loaf.  Lift into the prepare pan and brush with soft or melted butter.  Cover with a clean tea towel and set in a warm place to rise.

Mine doubled in 25 minutes but it may take an hour.  The loaf should rise to a height of 2" above the top side of the pan.

Preheat the oven to 425 Degrees F.  The oven rack should be on the lowest position or the bread will brown too quickly.  Bake 30-35 minutes.  Remove from the pan, brush with butter and cool completely on a wire rack.  Yield one large loaf.

Roast Beef Sandwich Bar:

I had thawed and roasted covered in a dutch oven a 5 pound rump roast at 400 degrees F. for 1 hour then reduced the heat to 325 degrees F. until well done on my meat thermometer.   Next I let it sit covered until it is cold.  Now it is very easy to slice into very thin slices into a covered flat Pyrex baking dish with the strained accumulated meat juices.  Then refrigerate.   About 30 minutes before serving tome I assemble a sandwich bar with all of the condiments we like and pop the meat into a moderate oven to warm.  Serve on sandwich rolls with Au Jus.    I buy the concentrate and make 2-3 cups for dipping.  (I pass small tea cups and bowls for dipping sauce.)

Note:  I use enough vegetables, lettuce, tomatoes, etc that this can also become the basis for a big green salad in case of  preferences or vegetarian guests.

Roasted Potato Side:

In another dutch oven I sprinkle about 3 T. coarse salt and added 5 pounds of washed small to medium red shinned potatoes.  Drizzle with olive oil then salt and pepper well.  Cover and roast in the oven at 400 degrees F.   Start this about 1 hour before serving. These can be served as is or with additional butter, sour cream, salt, and pepper.  There were only 4 small potatoes left after dinner.

And here sit the girls long after the "old folks" went to the living room!
Then there were the 2 berry pies I made early in the day for dessert.  Nobody left hungry and many asked if they could come again.  We replied, "of course."


8/25/13

Red Raspberry & Blackberry Pies

The pie crust is my favorite recipe for 4-5 single crusts or 2 doubles and a single.  Here is the link for this no fail recipe from my husband's Aunt Virginia:    thehiddenpantry.blogspot.com/2010/07/cherry-pie.html

Ingredients for Red Raspberry Pie:

4 C. red raspberries
4 T. instant tapioca
1/2-3/4 C. sugar (depending on the sweetness of the berries)
1 1/2 T. soft butter
pinch of salt
pinch of cinnamon
cinnamon and sugar to sprinkling top crust if desired

Preheat oven to 400 degrees F.

Combine thee sugar, salt, tapioca, and berries and stir to combine.  Let them sit for 5 minutes before pouring into the bottom pie crust.

Roll the bottom crust and drape it across the 9" pie plate.  Set aside and roll the top crust.  Pour the filling into the bottom crust and dot with the soft butter.  Sprinkle with cinnamon.

Place the top crust over the fruit and crimp and trim the edges.  sprinkle with cinnamon an sugar.  Bake for 30 minutes then reduce the heat to 325 and bake for 30 minutes more until the is browned and the filling bubbling.

Remove from the oven and cool.  Serve as it is or top with sweetened whipped cream or ice cream.

Ingredients for Small Blackberry Pie:

2 C. blackberries
2 T. instant tapioca
1/3-1/2 C. sugar
1 T. soft butter
pinch of salt
pinch of cinnamon
cinnamon and sugar to sprinkle top crust if desired.

Follow the same directions as above using a half sized baking dish.

8/23/13

Grape Jelly Made With NO Additives Except Sugar

The best part of home made grape jelly is the taste and smell as you sample it!
Truth be told I have always intended to try this as I know full well my Grandmother's did not use any additives to be sure their jelly's set.  So today after finding I have by my own estimate 12 cups of pure concord grape juice (a batch is usually 4 cups of juice) without having added a single drop of water, and only enough pectin for 2 batches, I elected to go the first batch the old fashioned way.
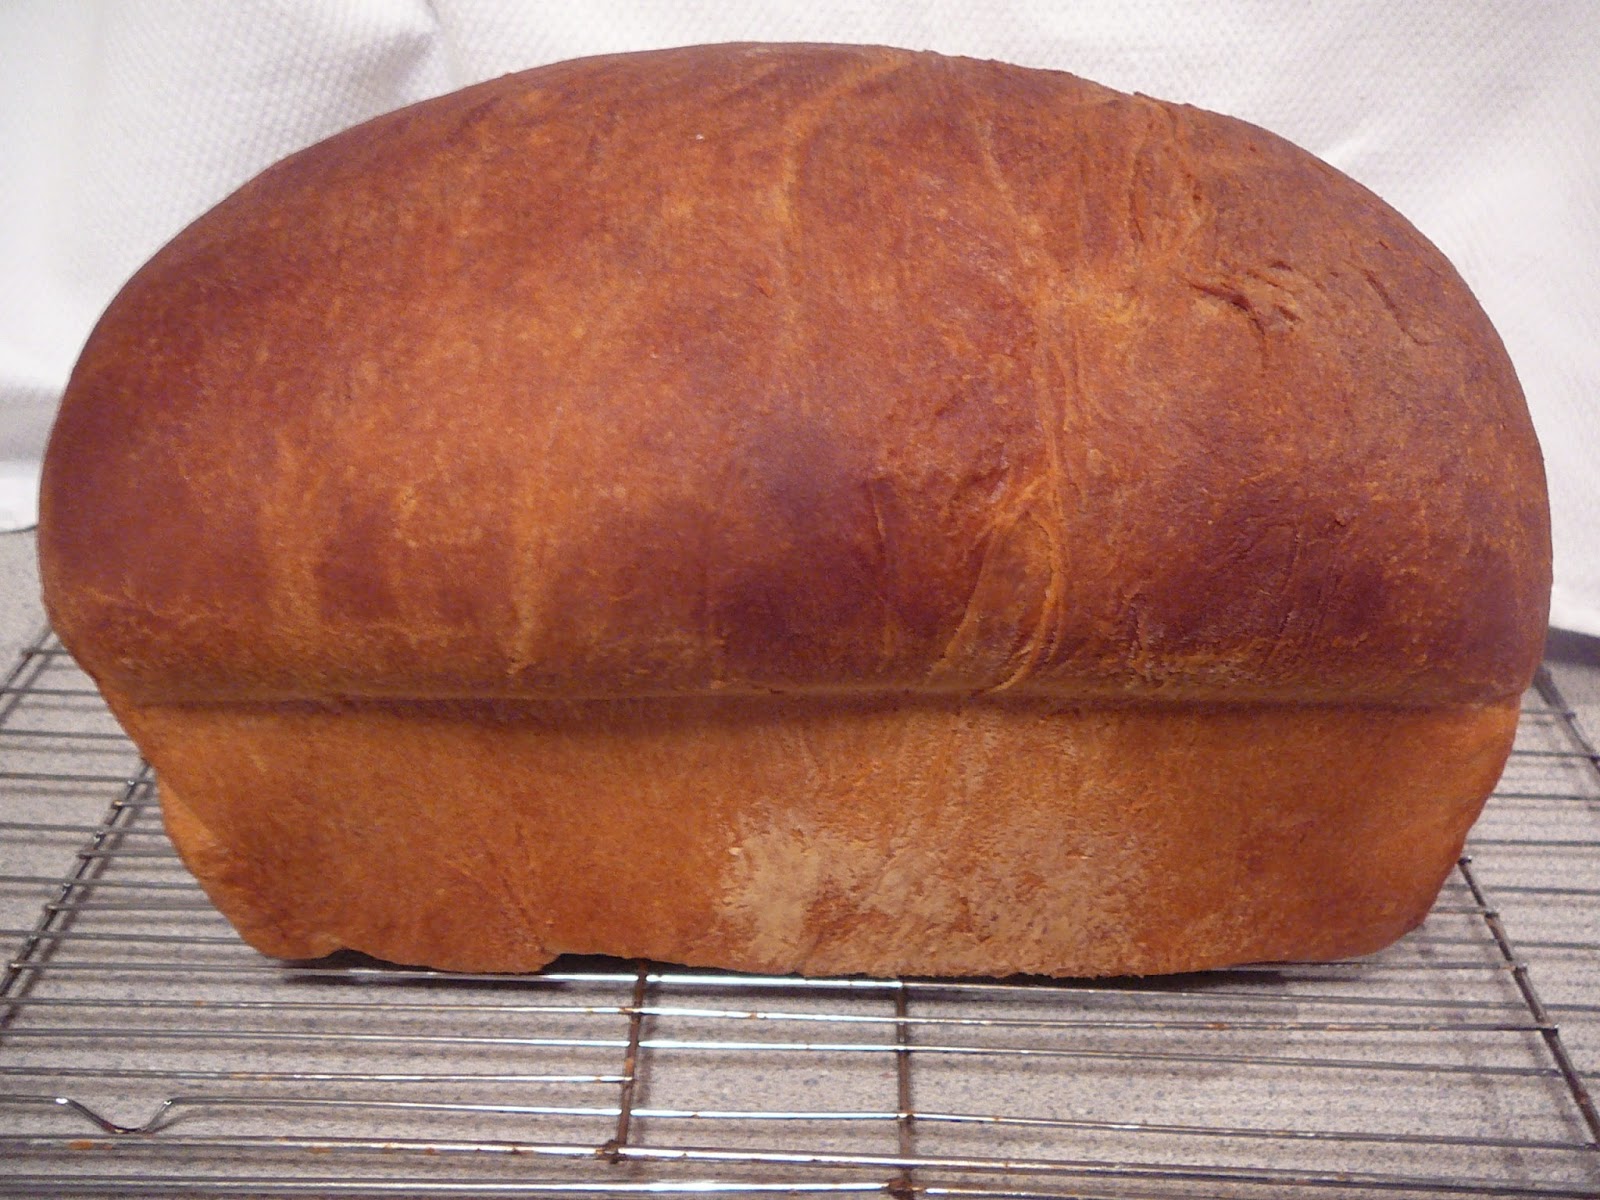
Deep, Dark, and Delicious Pure Grape Jelly.

NOTE:  THE JUICE WAS PREPARED FOR JELLY MAKING A DAY AHEAD AND THE INSTRUCTIONS ARE IN THE PREVIOUS POST.

If you would like the version using pectin here is the link, just click on to view that posting should you be interested.     thehiddenpantry.blogspot.com/2012/09/grape-jelly-old-fashioned-way-cooked.html

After opening the hanging cheese cloth bags the pulp just easily rolls out into the garbage.  I stick the cheese cloth into a plastic bag and will launder it later for reusing.  I just throw it in the washing machine on the smallest load setting and dry folded across a cloths hanger in the open air.

Next ready the bands and NEW seals by simmering them in boiling water.  I set the clean jars above boiling water in the rack of the cold packer to keep them hot.  I am all about getting everything ready BEFORE I start!

According to the Ball Blue Book there are 2 ways to go about this, one is cooking until the jelly will sheet or slide off of a plate or spoon or the temperature method which is the way I prefer to go as it seems like a bit less guess work to me!  But it involves an extra step.  You must first check to see what the exact temperature at which water begins to boil where you are.

Place about 2 1/2" tap water in a clean saucepan and watch it as you bring it to a boil.  Do not let the thermometer touch the bottom of the pan.  At the time the water begins to bubble in a full boil record the temperature.  Here it was 212 degrees F.   Next add 8 degrees.  This is the jell temperature for this jelly.  Here it was 220 degrees F.

Straining a second times removes any crystals that may have formed.
I choose to strain the juice again into a gallon pitcher.   This time I strained through 4 layers of cheesecloth and placed it inside a large strainer for support at the top of my pitcher removing any crystals that might have formed.

Ingredients for Grape Jelly:

4 C. prepared grape juice
3 C. sugar
optional 1 t. butter

Place the juice prepared as in the previous post into a large heavy bottomed kettle and add the sugar over high heat stirring until the sugar is dissolved.  You may choose to add 1 teaspoon of butter if desired to prevent or reduce the amount of foam that will form during this cooking process.  This is optional, I do add the butter.

Cook and stir constantly until you reach the jell temperature as explained above.    I made sure it was about 1/2 a degree more just to be sure I was looking at the thermometer at the correct angle!

Immediately remove from the heat.  Skim off any foam.  Fill the hot jars to within 1/4" of the top of the jar and cap and band them snugly.

I had earlier called my sister Linda who is also a jelly maker to confer because we have always at this point turned the jars upside down and left them undisturbed for exactly 10 minutes then turned them upright.  The jars have then always sealed and we leave them alone then for 2 weeks as sometimes it can take that long for the jelly to set.  THIS IS EVIDENTLY NO LONGER THE PRESCRIBED METHOD.  But it is the way we have always done it. 

The Ball Blue Book directs you too process the jars in the water bath covered with 1-2" of water for 10 minutes before removing and cooling the jelly.  Then again leave undisturbed for 2 weeks to be sure it had set.

If your jelly does not set you can reprocess it in some instances.  I recommend the Ball Blue Book in that situation.

I think Grandma would be proud!
This recipe made about 5 cups of jelly and I took the little bit I had left and used a juice jar.  I stuck it in the refrigerator for a few minutes and it hardened right away so I am pretty confident it is fine!

I hear the lids popping to seal from here!  I tasted the little bit I had skimmed and it was delicious!

Today's final tally is 22 1/2 cups of grape jelly.  The first batch was 4 C. juice + 3 C. sugar = 5 cups jelly.  I used my 2 packages of pectin for the next 2 batches,  each batch used 4 C. juice = 6 3/4 C. sugar = 17 1/2 C. jelly or a little over 8 cups per batch.

Funny thing I had maybe 2 tablespoons of juice left over!  Makes me happy, happy, happy and pooped!

8/22/13

Making Grape Juice for Concord Grape Jelly

Concord grapes picked fresh from the vines.
We seem to have a peak season going on for concord grapes!  My hubby came home early last night and we headed over to the west side of Evansville to the home of Bill and June Shirley as they offered to share their bumper crop of concord grapes with us.  Off we went with baskets and clippers in hand only to find they had most of the work already done and good 20 pounds of grapes were waiting for us!

We sat as the evening sun went down and visited awhile before heading back.   It was a very nice evening.  Thanks to the Shirley's we will have grape jelly to share this year.

You will need Concord Grapes,  colander,  pan for washing,  slotted spoon,  large heavy bottomed kettle with lid,  potato masher, cheese cloth, and twine.

Note:  About 3 1/2 pounds of grapes will yield 4 cups of juice.  (Ball Blue Book)

The first thing necessary is to pick all of the grapes from the stems and debris and give them a good rinse in cool clean water.  I don't leave them to soak, just a good swish and then out.  I did two  batches as I did not want to over fill my kettles and have a boil over.

Mashing is easily done in batches with a potato masher.
As soon as I picked over and rinsed about 4-5 cups of grapes I added them to a large heavy bottomed kettle and mashed them.  Doing them in batches then mashing is much easier then doing them all at once and then trying to get them mashed.  Just dump each new batch on top and give them a bit of elbow grease with your potato masher and you will make quick work of it.

Cover the pan and simmer the grapes until the fruit is soft.  Gather several layers of clean cheese cloth and lay them across a large bowl.  Carefully pour the fruit and juice into the cheese cloth lined bowl.

I have hung 2 cheese cloth bags of cooked grapes to drain into bowls.
Gather up the excess and the corners and tie the cheese cloth with butchers twine.  Leave enough length in the string to be able to suspend it above the bowl and hang for several hours.  I start with probably 20" then fold it in half and double knot the ends together.  Just loop the looped end around the gathered corners of the cheese cloth and pull the knotted end through the loop and shown in the picture.  The weight will pull and hold the bag taught.  If you need to shorten the knotted end for the height to your bowl just knot it again to make it shorter and loop it over your knob.

I hang the bags by the handles of my upper kitchen cabinets over large bowls.  My house is quite cool with our air conditioning and I leave it 12-24 hours.

The "Ball Blue Book"  advises that the juice may be used fresh, canned, or frozen for later use.  To prevent formation of tartrate crystals in grape jelly, the juice should stand  in a cool place for 12 to 24 hours.  Strain again through damp cheese cloth to remove any crystals that may have formed.

Tomorrow I shall perhaps make grape jelly!  Or if not I will store the precious juice in Mason Jars in the refrigerator or the freezer.


8/21/13

Just Finished 2nd Baby Gift After Having Kate's Birthday, a Broken Water Main, and a Stress Test!

I love the border print for a young lady!
Sunday was a lovely day as we celebrated our Granddaughter Katies' birthday with her special request for Oreo Cheesecake Cupcakes.  The link follows, they are EASY and delicious!     thehiddenpantry.blogspot.com/2012/07/oreo-cheesecake-cupcakes.html       and      thehiddenpantry.blogspot.com/2013/05/cheesecake-cupccakes.html


Our Granddaughter loves these Oreo Cheese Cake Cupcakes.
Monday started with a rap on my front door shortly after I had started both the dishwasher and the washing machine.  Many times I do not even answer the door if I do not expect or know the person. But, in this instance I recognized the ID on the man's shirt as someone from the crew working next door on the new owners home.

Upon opening the door I was met with a sheepish smile and notification they had hit our water main.  They were very nice and wanted me to know they had summoned a plumber and would take care of the repairs but they needed to turn off the water to our home.  Hurriedly I drew water in a dishpan and turned off the appliances.  So much for all of that!  Late in the afternoon repairs were completed and they advised me to turn on the outside water and flush the air and dirt from the lines before using water inside.

Tuesday there were medical tests scheduled at 1:00 PM with special instructions for the morning so other than filling up bird feeders and like cores that day was shot too.  Upon returning home around 4:00 PM.  I conceded this day to be shot too!  Tests were fine,  just a pain to deal with.

So here is is Wednesday morning and I just completed the last of the laundry and made a quick run to the bank.  I am ready to finish the girls tote and move on to other things.    If you are interested in the beginnings of this projects I began on 7/30/13,  started serious sewing on 8/14/13 and finished up today.  Here are the 2 links back to the earlier postings for directions to make this bag:    thehiddenpantry.blogspot.com/2013/07/coordinating-denium-border-print.html     and     thehiddenpantry.blogspot.com/2013/08/sewing-again-velcro-fasteners-starting.html

At the starting point today one side of the strap was sewn and the other not!
When we stopped I had discovered the bobbin had run out of thread and so the straps were only half sewn so the first thing I did today was finish the sewing on the remaining strap.

Of note is to finish the straps I go back and sew a box at the top point of attachment with a X through the center of each to reinforce them.

Look closely and you can see the top line of stitching is just to the right of the presser foot.
Sew a box and a X within it.  Be sure to back stitch and clip all threads.  This is the view on the wrong side so you can better see the stitching.
I do this on all bags on all 4 straps at the point they are attached.
Next I stitch the sides seams closed with a 5/8" seam allowance and press the seams open.
Pinch the side seam and the bottom seam together, lining the up on the wrong sides, then sew across the corner as shown on both of the bottom corners.

Clip the seam to open, press, then clip off the excess fabric below the seam line at the corner.
I prefer the boxed corners at the bottom and pinch the seams and stitch to make them.  They seem to hold things better by forming a boxed bottom.

This gives a nice crisp finish to the bottom of the bag.
Next seam the sides of the lining and press.  BEFORE SEWING HOLD THE BAG AND THE LINING DIRECTLY AGAINST EACH OTHER AT THE TOP MATCHING THE SEAMS OF THE BAG AGAINST WHERE YOU PLAN TO SEW THE SEAMS OF THE LINING SIDES.  This is the time to make any adjustments.  You want the opening of both pieces to be exactly the same before you close the last seam.  Now is the time to make any needed adjustment!

This says it all.
I decide where to add a tag at this time if using one and apply it to the lining below the top seam line will be.  Again box the bottom corners of the lining just as you did the bag.

With a warm iron turn down the top rough edge of the lining 3/8" and press all of the way around.  You are folding it so the wrong sides of the material are touching.   Do the same thing with the bag.

Next turn the lining so the RIGHT SIDE is inside and drop it down into the bag.  Now you should have the wrong side of the lining and the wrong side of the bag touching.  Match the side seams and pin them.  Ease the two edges together at the top and pin them.

I am always feeling really good about this by now!  I get excited about getting the job finished!
Stitch close to the top edge all the way around closing them.  Repeat by sewing a second line all of the way around.

I hope the recipients think she is as cute as I do!
It is finished and I have just tucked a large and a small girls bib into the bag and folded it to go out in tomorrows mail!  Two down and two to go!