Translate

Showing posts with label Baby Stuff. Show all posts

7/26/14

Creating a Fancy Cake for a Whimsical Baby Shower

We have pink cheetah bottom vanilla layers,  pink zebra chocolate layers, and a whimsical pink giraffe sitting atop!
Our oldest granddaughter loves to bake and decorate cakes and cookies, cupcakes too.  This afternoon she has delivered a special shower cake she made for one of her friends with a little help from her Grandma!  Her friend is expecting twin girls and is all aglow about pink!  She when asked had a vision for pink cheetah, pink zebra, and a pink giraffe!

I love this little guy.  We used raw pieces of spaghetti to support his neck on the inside.
We started this project Thursday evening by baking layer cakes and cupcakes which I wrapped and froze.  Next we made two batches of marshmallow fondant.  This is not new for me and here are the links to my previously posted recipes and directions.     thehiddenpantry.blogspot.com/2012/07/making-marshmallow-fondant-part-1.html       and     thehiddenpantry.blogspot.com/2012/07/baking-birthday-cakes-marshmallow.html     and also    thehiddenpantry.blogspot.com/2012/07/marshmallow-fondant-final-episode-two.html

It is always advisable to make the fondant ahead and refrigerate at least overnight and longer is fine.  It can also be frozen and thawed when needed. One more thing lest I forget....it tastes a whole lot better than the fondant you buy!  The cake layers are much easier to trim to size while frozen and the frosting goes the frozen layers so much more easily.

Friday evening we frosted, decorated, and put all of the finishing touches on the cake and cupcakes and were ready for bed at 11PM when we were finally done.  This morning both granddaughters arrived to make the delivery.  Poor Katie sat with "big eyes" and the giant cake on her lap as Emily backed her car out of our driveway.   Such wonderful girls.  I am so proud!

Happily Emily sent me this picture from the shower!
I missed my chance to get a picture of the cupcakes.  She found black and white zebra cupcake papers at Wal-Mart which were perfect.  We baked two dozen chocolate cupcakes and piped on white butter cream.  We melted white chocolate over a pan of simmering water and colored it pink.  Next Emily piped pink hearts onto parchment paper and we placed them in the freezer to harden.  After sprinkling the frosted cupcakes with a bit of fairy dust (sanding sugar) each one was topped with  pink twin hearts.  I am sure they were beautiful arranged around the towering cake!

Cute cake even sitting on my cluttered dinning room table.
We had a lot of fun making this and I am so happy to help and encourage her. 

10/4/13

Blankets Finally Finished for the Twins Plus One.

Two CHEETAH BLANKETS for the twins.
Finally I feel like I have accomplished something this week and it is 12 Noon on Friday! My, my what a week!  Doctors appointments, dentist appoints, prescriptions and the V.A.........Oh my gosh!!  Around and around and around........BUT I've put it past me now as I have sat down to the best medicine I know........My sewing machine.

I love these mitered corners!
Not that there has been anything terribly wrong.  Just a cracked tooth and annual check ups for my husband with the heart doctor.  Couple that with the fact I have now either telephoned or visited every single fabric store in the tri-state trying to find a piece of polar fleece for another blanket with no success!  How can this be? 

I did resolve the problem though by giving up and finishing the "snow man" blanket to put back as another gift to give.  Then I purchased a chenille and made both grandsons what I am calling CHEETAH BLANKETS!  I concluded that at age 5 they will get a lot more mileage out of a very soft and cuddly animal print with a very grown up chocolate brown satin blanket binding than they would a juvenile print.  They are very in to animals and reptiles and dinosaurs.

So soft!

I do offer up a few suggestions should you decide to make some blankets too.  Here it is very difficult to find the lovely satin blanket binding.  (Bet you know of a child who loved the soft satin of a blanket too.)  The only place I have found with what I wanted to buy was Hobby Lobby. 


Sewing is the best medicine I know!
You need to press the blanket binding before you pin it down.  Use long pins, they work better for this.  One side of the binding is slightly longer than the other so keep that in mind as you apply it.  I found it easier to sew a zig-zag stitch just inside the edge of the longer side.   Be sure you launder the fabric you are using for the blanket first to get past any chemicals they have applied and shrinkage there may be.  Happy sewing!

8/31/13

Baby Boy's Cuffed Striped Bag! (I could never get everything in my Diaper Bag!)

Sturdy and roomy enough for toys or anything else extra that might be needed,
This is the last of my current baby gifts and this is for a little boy.  The bibs are ready to tuck inside.  I just need to get to it!  I enjoy thinking up the "look" and the "feel" of each bag and for this one I am thinking "Rail Road Engineer"  for the theme and for the color combination.  Truth be told I have made this one already in my head!

My fabric selection is washed, dried, and pressed, including the cotton strapping material.
I have maybe 3 yards of navy blue and white canvas ticking stripe which is sloshing away in the washing machine as I write!  I went to Hobby Lobby (My new "go to" store for notions, love their coupons!) and purchased red cotton strapping.  I spied a red bandanna print for 30% off and liked it better than anything I already had so it and the strapping has already made it through my laundry and I stand ready to cut and sew in the morning.  Friday,  8/30/13,  5:20 PM.

I want to highlight the lining because I love the contrast of the red pattern against the navy ticking stripe so I am going to make the bag with a border across the top a couple of inches deep with the red bandanna material as well as use it for the lining.  The body of the bag will be the navy ticking stripe with the contrasting straps of the red cotton.

Do you remember how the engineer on the trains dressed in years gone by?  I can still see in my minds eye the engineer dressed in blue striped cap with a red bandanna around his neck and bib overalls!  We lived out in the country and a rail road bordered the side pasture.  In the summer if we were out in that field cutting thistle or getting the cows we would see them close up waving to us as the freight trains chugged by....And of course we waved wildly back thinking it all a thrilling adventure.

Straps sewn on and seams stitched!
I started the bag using the same steps as is outlined in the link      thehiddenpantry.blogspot.com/2013/08/just-finished-2nd-baby-gift-after.html      and you can click here to go to those instructions.  I did make a few changes.

I really like the boxed corners on the bottom of this bag.
After pressing the newly laundered fabric and strapping I tore the body of the bag and the lining to the exact same dimensions.  Next I attached the straps 6" from the outside raw edges and 4" BELOW the top of the outside of the bag  edge stitching both sides of the strap and reinforcing with a crossed box at the top as shown in the link above.  Next I stitched the side seams and boxed the bottom.

It is much easier to be sure this is exact before the final stitching.
I repeat the same process with the lining but I ALWAYS stop before I close the second side seam and hold up the lining to the bag to see where EXACTLY the seam should end to fit PERFECTLY.  This saves a whole lot of grief later on!

Basting holds the fabric in place and keeps them from stretching out of shape or slipping.
Then I slip the lining down inside the bag wrong sides facing each other and pin the two raw edges of the bag and lining together.  Today I moved the sewing machine to it's largest basting stitch and sewed the bag and lining together 1/4" from the raw edge.

The bag could have stopped here but I want it to have more of a cuff and have left 4" instead of the 2" I usually leave above where I stop the straps to have more to fold down at the top..
After pressing under and then again edge stitch closed.  I like finding and attaching a little label that says I cared enough to make this just for you.

Sew some love.
That is just what I did next!

To form the "cuff"  fold down and machine tack just above the straps and on the side seams.
It is 2:00 PM Saturday and this is all done!

Just a quick double check to be sure all of the strings are clipped and it is good to go!

8/28/13

Polka Dot Drawstring Bag with Vintage Crochet Parasol Applique, Gift #3 Completed

I have always liked pink and brown together and am happy to have found the vintage applique to use too.
I have been in love with this pink vintage crochet parasol applique since the first time I saw it.  When I spied this pink and brown polka dot fabric and a pinkish salmon solid a monochromatic color scheme came to mind.  I had two gross grain spools of ribbon on hand one more orange and one more pink and decided on the pink, so I sat down this afternoon and made this draw string bag.

I started as I usually do by tearing the fabric to the dimensions I need.  I had already laundered and dried it weeks ago.  Next I did the same for the lining fabric and proceeded.  After sewing the seams and making box corners at the bottom I did the same for the lining.

Since I was in the mood to do something a little different and I like drawstring bags that is where I went next.  I dropped the lining down into the bag so the wrong sides were together and pinned the top.  Next I folded to the the outside both the lining and bag 1/4" and sewed them down stitching along the folded edge.

Next I pinned on the applique and stitched it in place through both the bag and the lining.

I sorted through my labels and found just what I wanted to say and attached it on the opposite side of the bag inside on the lining.

I choose the pink gross grain ribbon and stitched 2 pieces together to double the strength of it.  Finally I turned the top of the bag to the outside 2" making a contrasting solid pink case to insert the ribbon into.  I marked 2" to leave openings at the 2 side seams and sewed the front and back casings closed, stitching right on top of the last row of stitching I made when I turned the edge under 1/4".

I grabbed a large safety pin and attached it to one end of my finished ribbon and drew it through easily.  When I had it all the way through I sewed the ends together securely.  I pulled the ribbon through to hide where I had sewn it together and adjusted it until I had equal straps on both sides.  All done!!

8/14/13

Sewing Again! Velcro Fasteners, Starting the Border Print Bag, & Sharing My Button & Spool Collections. Yikes, Emergency Assistance and Glad to Help!

Wooden Spools Are No Longer Made So I Collect Them, Just Because I Like Them!
Tuesday turned out to be quite a day!  For starters I put all 10 sets of Velcro fasteners on the reversible bibs and started the boarder print bag.  This did not go so easily as I had imagined it might!  Out of probably 250-300 spools of thread  I couldn't come up with navy blue thread!   So I thought I would use black instead but noted that I should add that to my list for this mornings trip to Hobby Lobby to purchase white satin blanket binding.

They were out of white blanket binding but thanks to a gal named Johnnie I was able to order on a rain check and get the 1/2 off sale price.  She made me a "come again" shopper with this customer service action!  Special thanks to Johnnie.

The fuzzy side of Velcro.

The looped side.


I have collected almost a gallon jug full of wooden spools.  Not because they are worth anything but because I like them.  The new and improved plastic ones do not endear me a bit.  But, I can still see my Dad, when as a little girl, he made little toys for me from wooden spools as we both sat in the living room of my Grandmothers house, now all long gone except in my memories.

My Button collection needs work.  There are many waiting to join these!
I also have quite the button collection for the same reason.  Just because I like them.  Jars all separated by the number of holes or the way the button fastens.   There are may waiting to be sorted and join these.  Plus there are several hundred old cards of buttons waiting for something too!

Now, back to the boarder print bag.  When last I worked on this I had cut 2 panels for the bag and 2 panels for the lining, all the same size.  I had found trim for the straps and handles that coordinate.

So I matched the panels at the bottoms so the print would run in the proper way when done and  stitched a 5/8" seam for the bottom of the bag and for the lining.

Next I pressed the seams open for both bag and lining and set these pieces aside for now.

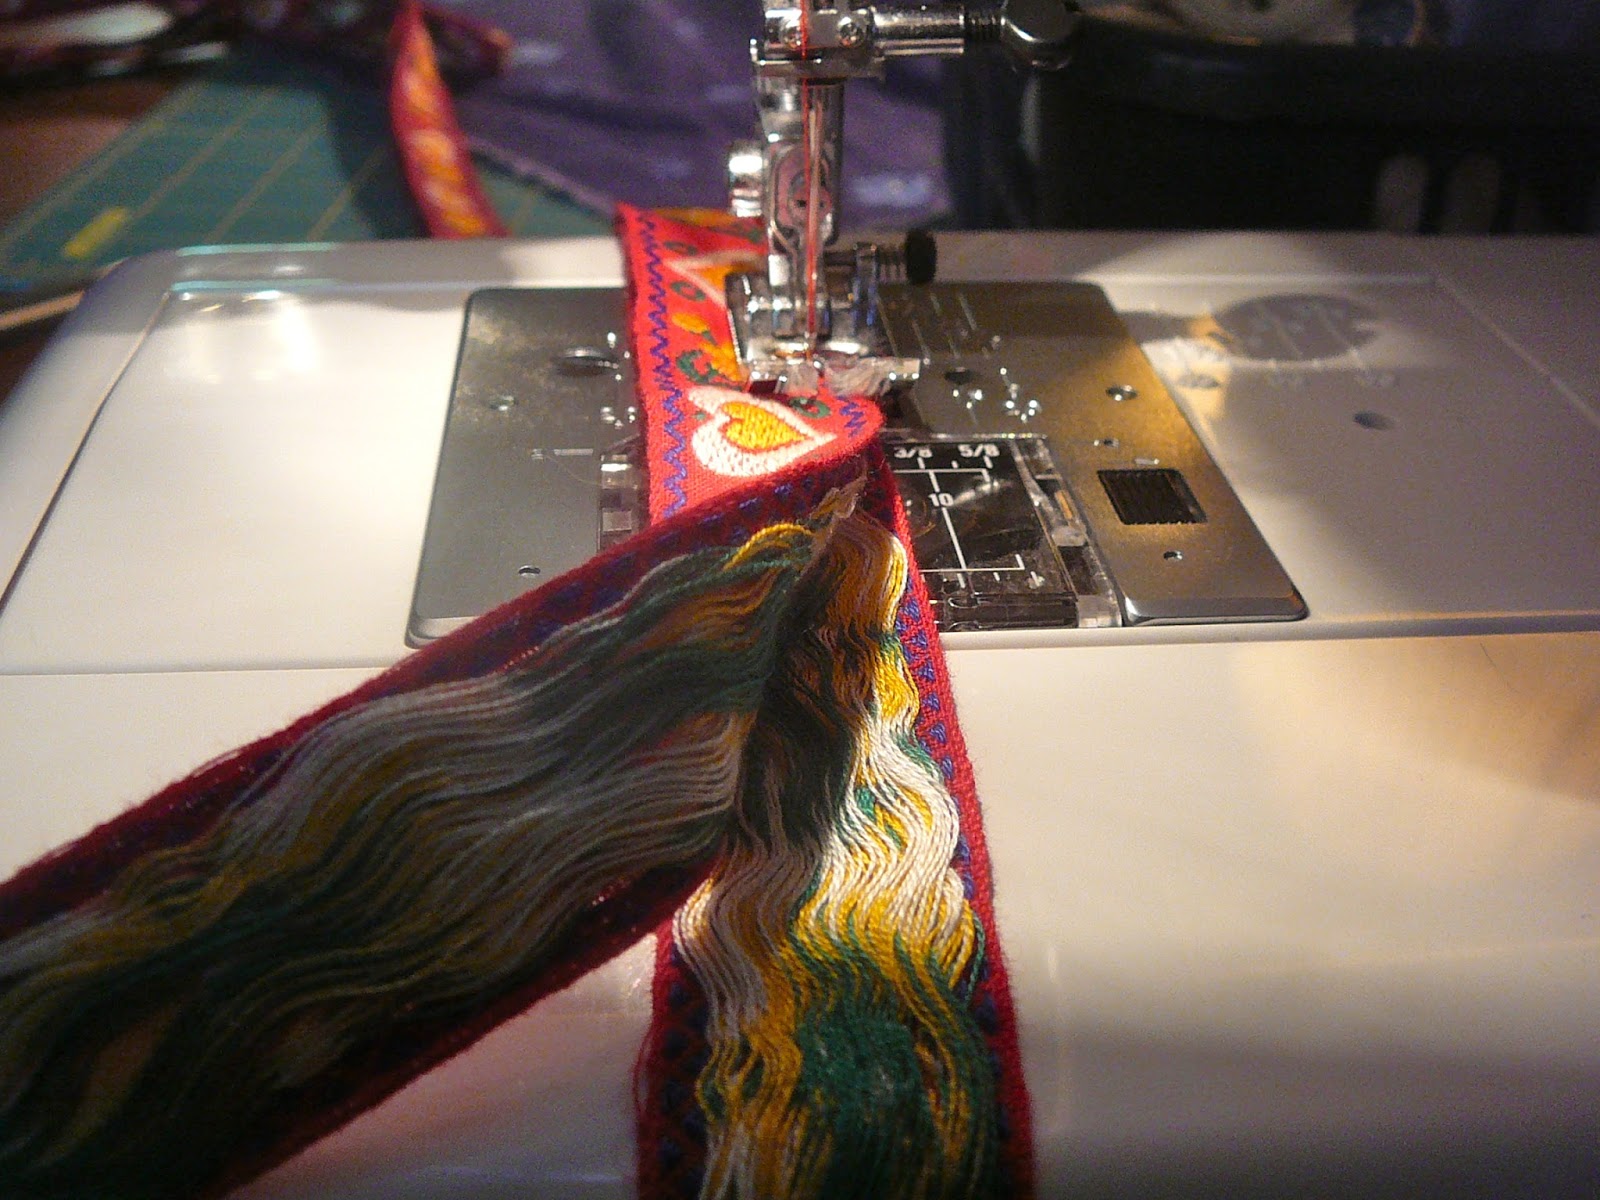
The braid is an issue because it is not as sturdy as I would like and unfinished looking on the underside.   To use these as handles I need to sew two pieces together wrong sides together.  This will afford us a much longer lasting and sturdy bag.

My rule of thumb is 4 times the top to bottom measurement of one panel of the bag plus 24" x 's 2 for the handles.  But for this project (and for some others I have done) this measurement is DOUBLED.
Now sew the 2 pieces of braid together wrong sides together lengthwise.  

This is how I pin and sew the strapping.
The next step is to mark 4" from the outside edge of the sides of the panel and 2" down from the top.  I pin the long piece of trim starting near the bottom seam of the bag. Then pin the strapping material to the bag.  I overlap and fold under the final end.  DO NOT SEW PAST THE TOP 2".  Rather cross from one edge to the other and sew back down the other side.
I sew about 1/16th " from the edge and cross across the strap 2" from the top edge of the bag and come down 1 /16th " from the other edge.
 I have gotten a "Please Help" request.  So for a few days I will stop here.  I need to hem a half dozen or so banquet tablecloths for a shower this Saturday!  Then  just like Arnold.......I'll be back! 


7/30/13

Coordinating Denium Border Print Fabrics and Trims for the Next Gift Tote

This looks like a great border print to use for a little girl.
This "Saucy Lass" will be setting the pace for the next gift bag I am making.  I found this piece of dark blue denim border print amongst my treasure of fabrics.  Actually I was able to tear into 4 equal widths so there will be enough to repeat or make a pillow or something another day.

This light weight cotton in blue with white and red will make a perfect lining and after I tore an appropriate width it was deep enough to tear off about an inch and get both pieces for the inside of the bag.  My dilemma is the strapping material.  I love the "cute" effect of the woven hearts but thinking about the strength and longevity of it.

The hearts add a sweetness to this combination.
In the past I have sewn 2 pieces of trim, ribbon, or such exactly together to double the strength to use for strapping and I may need to do that here.

It is late in the day but I have started.  More tomorrow.

7/29/13

The "Little Baby Bear Bag" is just too cute for words! And here is how to make, a TUTORIAL.

"Little Baby Bear Bag" is looking for a new home now that I have him finished.
I love this fabric!  I would go buy more if I could find it.  It is so sweet!  Gosh I am having such a good time!!  Me and my sewing machine are just having the time of our lives here!   And cute, cute, cute, is this fabric and this "Little Baby Bear Bag" as I have aptly named it!

I think he may be looking for a baby boy??
I have taken a remnant of a baby bear fleece and thought it just enough for an extra tote bag for baby.  You know you can never ever get everything into one bag!  At least I never could.  Or it is great for display or just to keep "stuff" in....

This is just plain good fun!
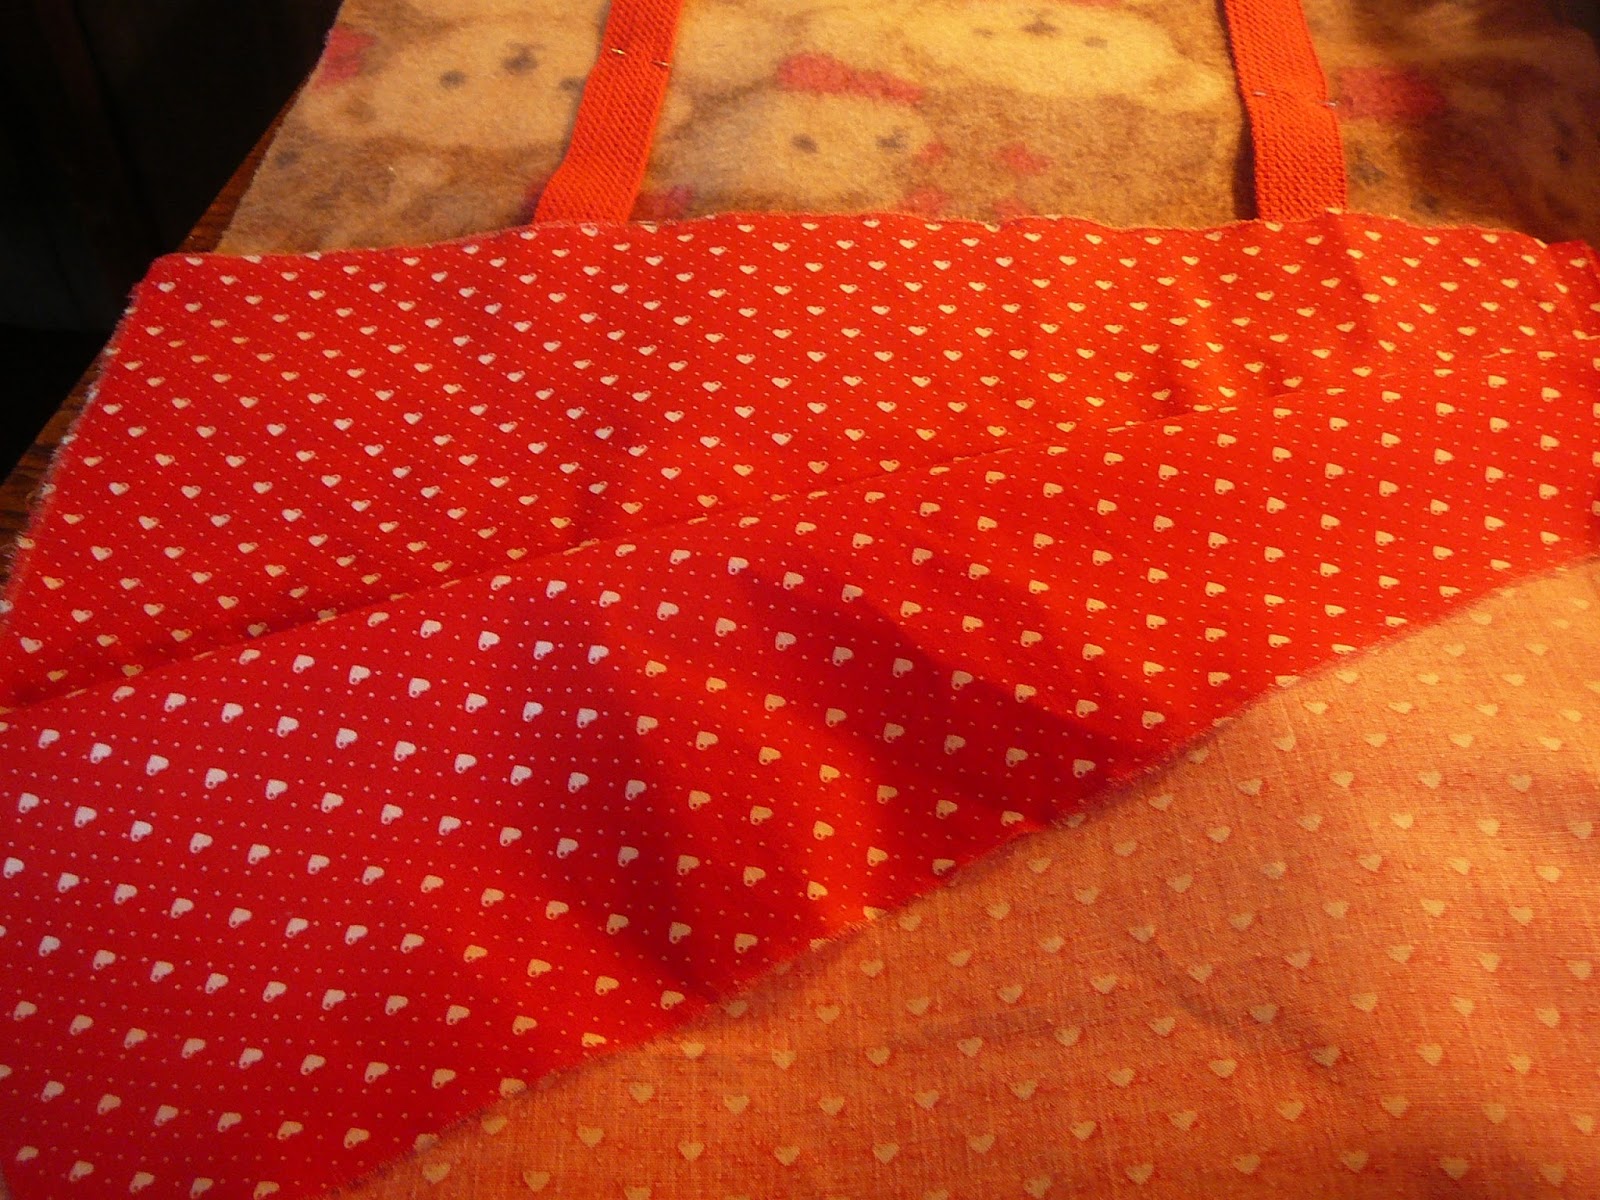
I did make a special trip last Friday for red strapping.  I thought the contrast would be perfect as was the red cotton with tiny white hearts I picked as the lining material.

First thing is always to wash all of the fabric you are planning to use and then dry and press.  (Of course don't wash if it is a "dry clean only" fabric.)   This takes care of shrinkage, and rids the fabric of any finishing chemicals.  I had done this last week in preparation.

I used all of a remnant I had but the dimensions are up to you they can be however large you like.  It is the rules to go by I an happy to share.  This piece was about 26" x 36" and the main thing is to determine how you want the pattern to run.

The other big thing in my book is to be able to make something that will hold up and last.  The first bag I ever made was 34 years ago for my sister when she was expecting her first child.  The key to their holding up I believe is how you apply the handles or straps.  Linda is still using her bag and it shows little wear or age.

Notice the only seam I have sewn is to join the bottom of the bag.
The first example I will use is the way I laid out the fabric and the straps.   Cut 2 pieces of the fabric you have chosen for the exterior of the bag.  Since I have bears and the pattern has an obvious top and bottom I place the right sides of the fabric together facing each other with both tops up and bottom of the pattern at what will be the bottom of the bag facing each other.   Sew a 5/8" seam across the bottom and press it open, clipping any excess threads.   Above you will note the seam is at the center of the fabric running left to right in the center and I have laid it right side up.  Next I pin the strapping 3" from the raw outside edge.  I USE ONE CONTINUOUS PIECE OF MATERIAL FOR THE STRAPPING.   I leave 24 " between where the strap comes up and then goes back down to from each handle.  Generally I start the end of the strap towards the bottom of the bag and I overlap 1 1/2"-2" when I come to the end.  Always backstitch and always trim the extra threads.

Here you can see the seam that formed the bottom of the bag as well as the straps as I have pinned then to sew..
You can use gross grain ribbon or other decorative woven strapping for this.  Edge stitch all of the way around both sides of the strap material and stop 1" BELOW the top edge of the bag.

Do NOT sew it all of the way flush to the top edge of the bag.  You will just sew across the strap and start back down until each side has been done.

Next with the right sides of the bag facing each other and the straps pulled out of the line of stitching sew the sides of the bag together with a 1/2 " seam back stitching and trimming the threads.

Sew across the corner and back stitch to form a box bottom.
If you would like you may leave the bag flat as it is or if you prefer a box corner pinch the corner the opposite direction and stitch across the corner as pictured above.  If you box this corner you will need to also box the lining.  Set aside for now.

The little white hearts are facing each other with the pattern right side up.
Place the right sides together facing each other and the top of the pattern up top with the lining fabric and sew the bottom seam as you did for the bag's exterior.  Sew the side seams together and press the seams open and clip the threads.  Always back stitch your sewing.

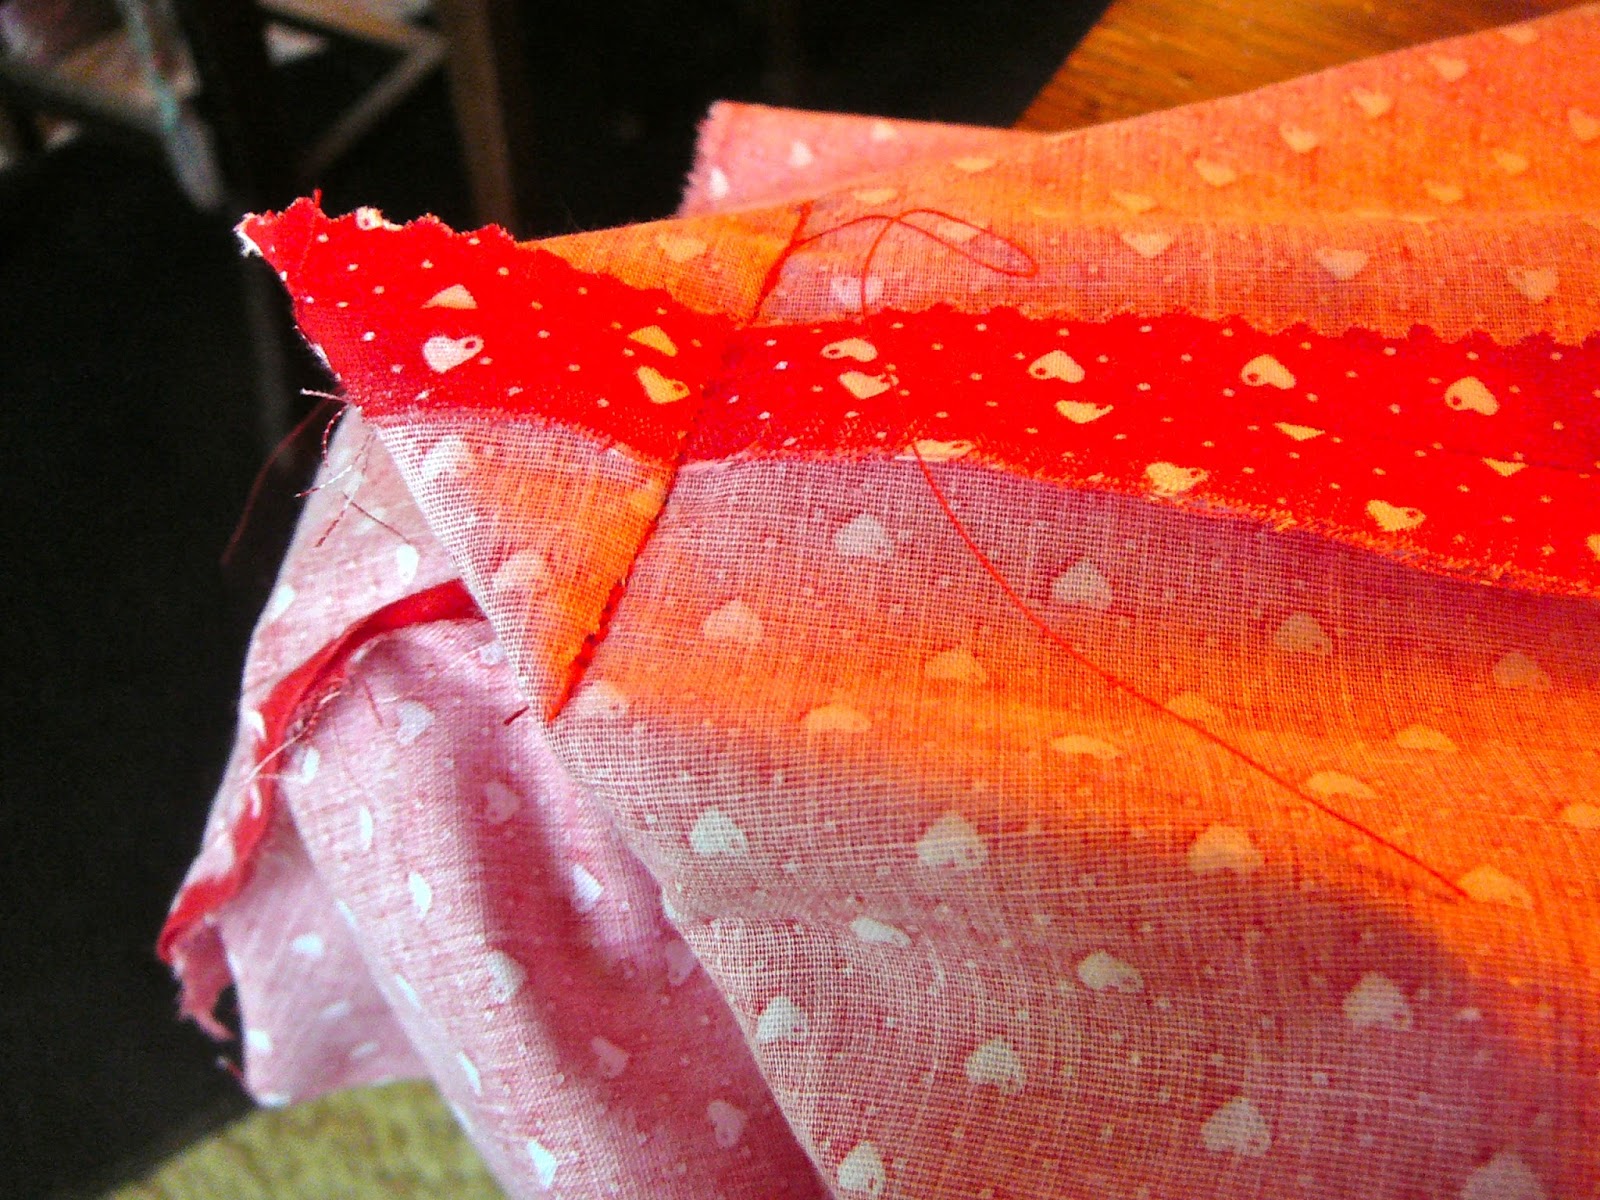
Sew across the corner.
Clip off 1/4" above the line of stitching on both the lining and the bag.

Form the box corners and sew.  Next trim across 1/4" from your line of stitching on the lining and on the bag.

Press the raw top edge of the lining under 1/4" all of the way around and then edge stitch.  If you have cut the bag and the lining material exactly the same size and sewn the seams all the same size the next part will be perfect.

With the RIGHT side of the lining turned inside so you are looking down into it place the lining down inside of the bag.  You will have the two edges at the top.  Fold the outside edge of the bag under 1/4" and pin it against the finished edge of the lining you edge stitched under earlier.  Ease any fullness evenly and pin securely.

All done!
Top stitch the edges together 1/8" from the top edge to finish the bag.  Sit back and smile!

I think a couple of those cute reversible baby bibs tucked into this bag will make a lovely gift.  And it was made in Newburgh, Indiana, USA.