 |
| Wooden Spools Are No Longer Made So I Collect Them, Just Because I Like Them! |
Tuesday turned out to be quite a day! For starters I put all 10 sets of Velcro fasteners on the reversible bibs and started the boarder print bag. This did not go so easily as I had imagined it might! Out of probably 250-300 spools of thread I couldn't come up with navy blue thread! So I thought I would use black instead but noted that I should add that to my list for this mornings trip to Hobby Lobby to purchase white satin blanket binding.
They were out of white blanket binding but thanks to a gal named Johnnie I was able to order on a rain check and get the 1/2 off sale price. She made me a "come again" shopper with this customer service action! Special thanks to Johnnie.
 |
| The fuzzy side of Velcro. |
|
|
 |
| The looped side. |
I have collected almost a gallon jug full of wooden spools. Not because they are worth anything but because I like them. The new and improved plastic ones do not endear me a bit. But, I can still see my Dad, when as a little girl, he made little toys for me from wooden spools as we both sat in the living room of my Grandmothers house, now all long gone except in my memories.
 |
| My Button collection needs work. There are many waiting to join these! |
I also have quite the button collection for the same reason. Just because I like them. Jars all separated by the number of holes or the way the button fastens. There are may waiting to be sorted and join these. Plus there are several hundred old cards of buttons waiting for something too!
Now, back to the boarder print bag. When last I worked on this I had cut 2 panels for the bag and 2 panels for the lining, all the same size. I had found trim for the straps and handles that coordinate.
So I matched the panels at the bottoms so the print would run in the proper way when done and stitched a 5/8" seam for the bottom of the bag and for the lining.
Next I pressed the seams open for both bag and lining and set these pieces aside for now.
The braid is an issue because it is not as sturdy as I would like and unfinished looking on the underside. To use these as handles I need to sew two pieces together wrong sides together. This will afford us a much longer lasting and sturdy bag.
My rule of thumb is 4 times the top to bottom measurement of one panel of the bag plus 24" x 's 2 for the handles. But for this project (and for some others I have done) this measurement is DOUBLED.
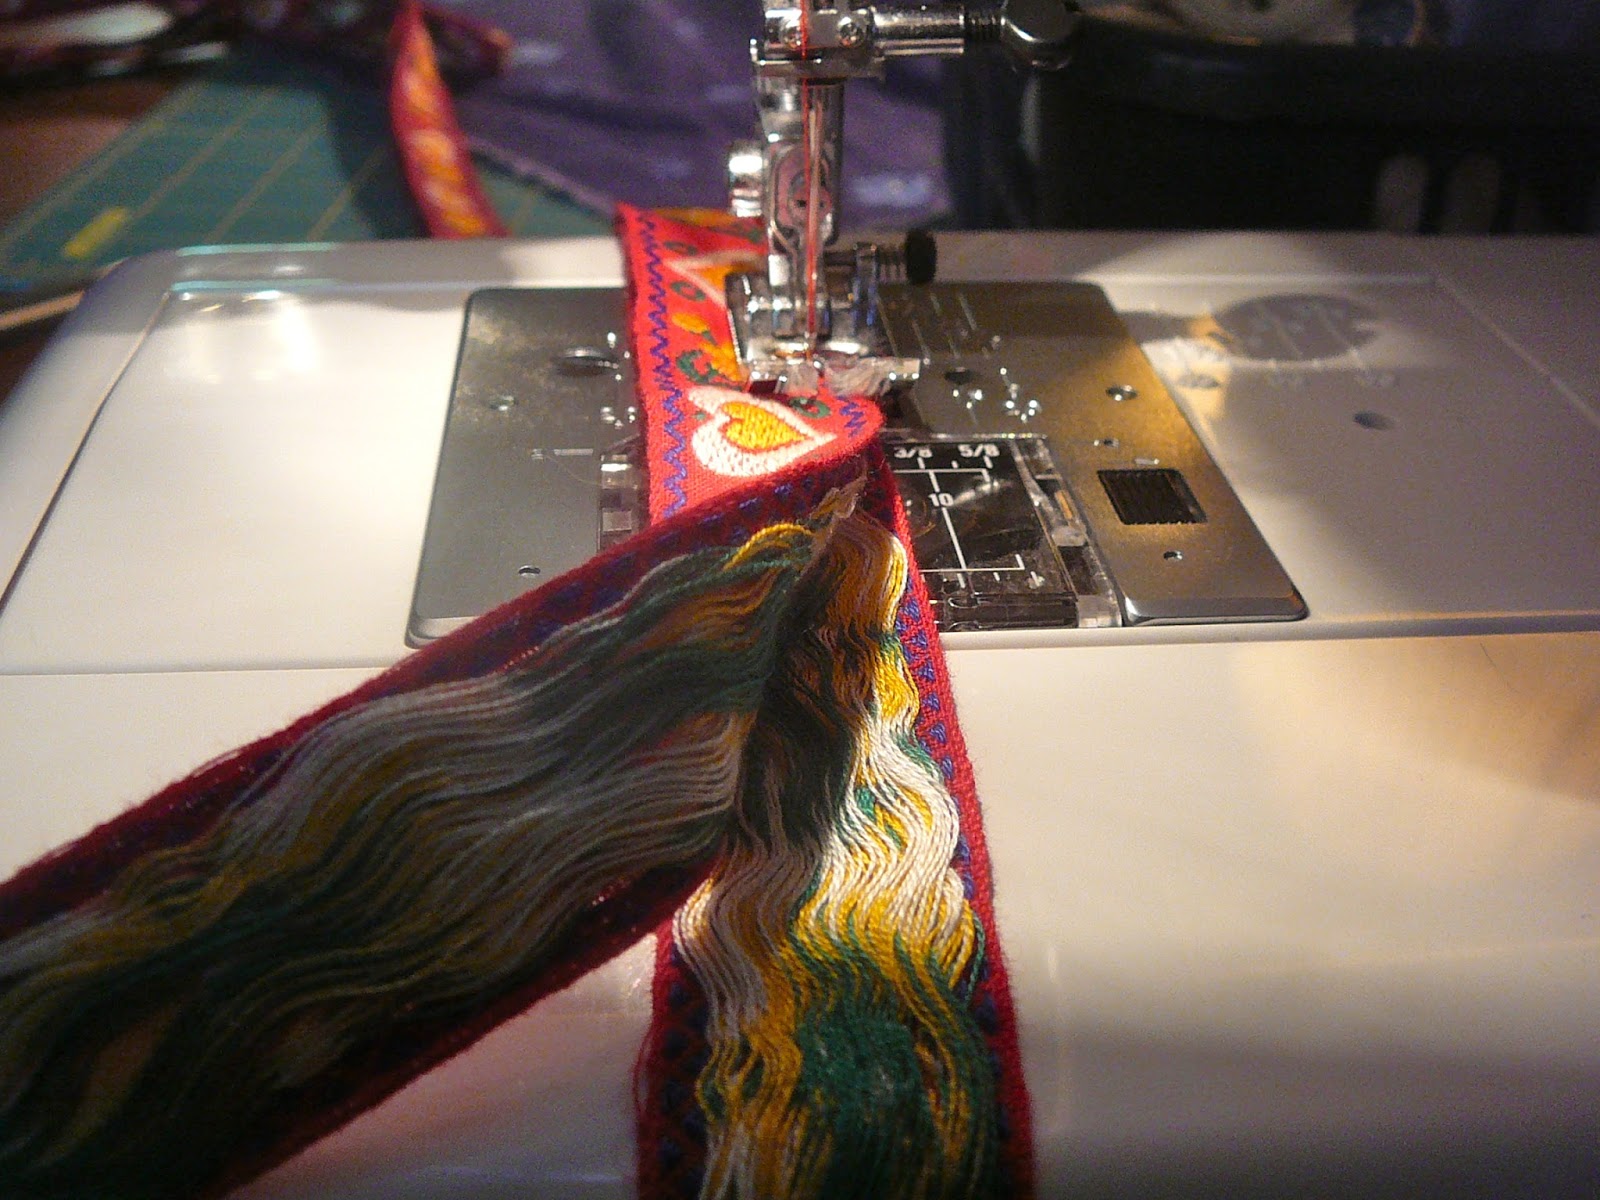
Now sew the 2 pieces of braid together wrong sides together lengthwise.
 |
| This is how I pin and sew the strapping. |
The next step is to mark 4" from the outside edge of the sides of the panel and 2" down from the top. I pin the long piece of trim starting near the bottom seam of the bag. Then pin the strapping material to the bag. I overlap and fold under the final end. DO NOT SEW PAST THE TOP 2". Rather cross from one edge to the other and sew back down the other side.
 |
| I sew about 1/16th " from the edge and cross across the strap 2" from the top edge of the bag and come down 1 /16th " from the other edge. |
I have gotten a "Please Help" request. So for a few days I will stop here. I need to hem a half dozen or so banquet tablecloths for a shower this Saturday! Then just like Arnold.......I'll be back!


2 comments:
Diane, You are quite the 'sewing lady'. More talent showing in more areas. Your sharing is gracious! So enjoy!! Thanks!!!!!
This is really hidden because many thing we have to stuff and discuss so this is awesome.
DIN 7 | DIN 6325 | ISO 8734
Post a Comment