 |
| "Little Baby Bear Bag" is looking for a new home now that I have him finished. |
I love this fabric! I would go buy more if I could find it. It is so sweet! Gosh I am having such a good time!! Me and my sewing machine are just having the time of our lives here! And cute, cute, cute, is this fabric and this "Little Baby Bear Bag" as I have aptly named it!
 |
| I think he may be looking for a baby boy?? |
I have taken a remnant of a baby bear fleece and thought it just enough for an extra tote bag for baby. You know you can never ever get everything into one bag! At least I never could. Or it is great for display or just to keep "stuff" in....
 |
| This is just plain good fun! |
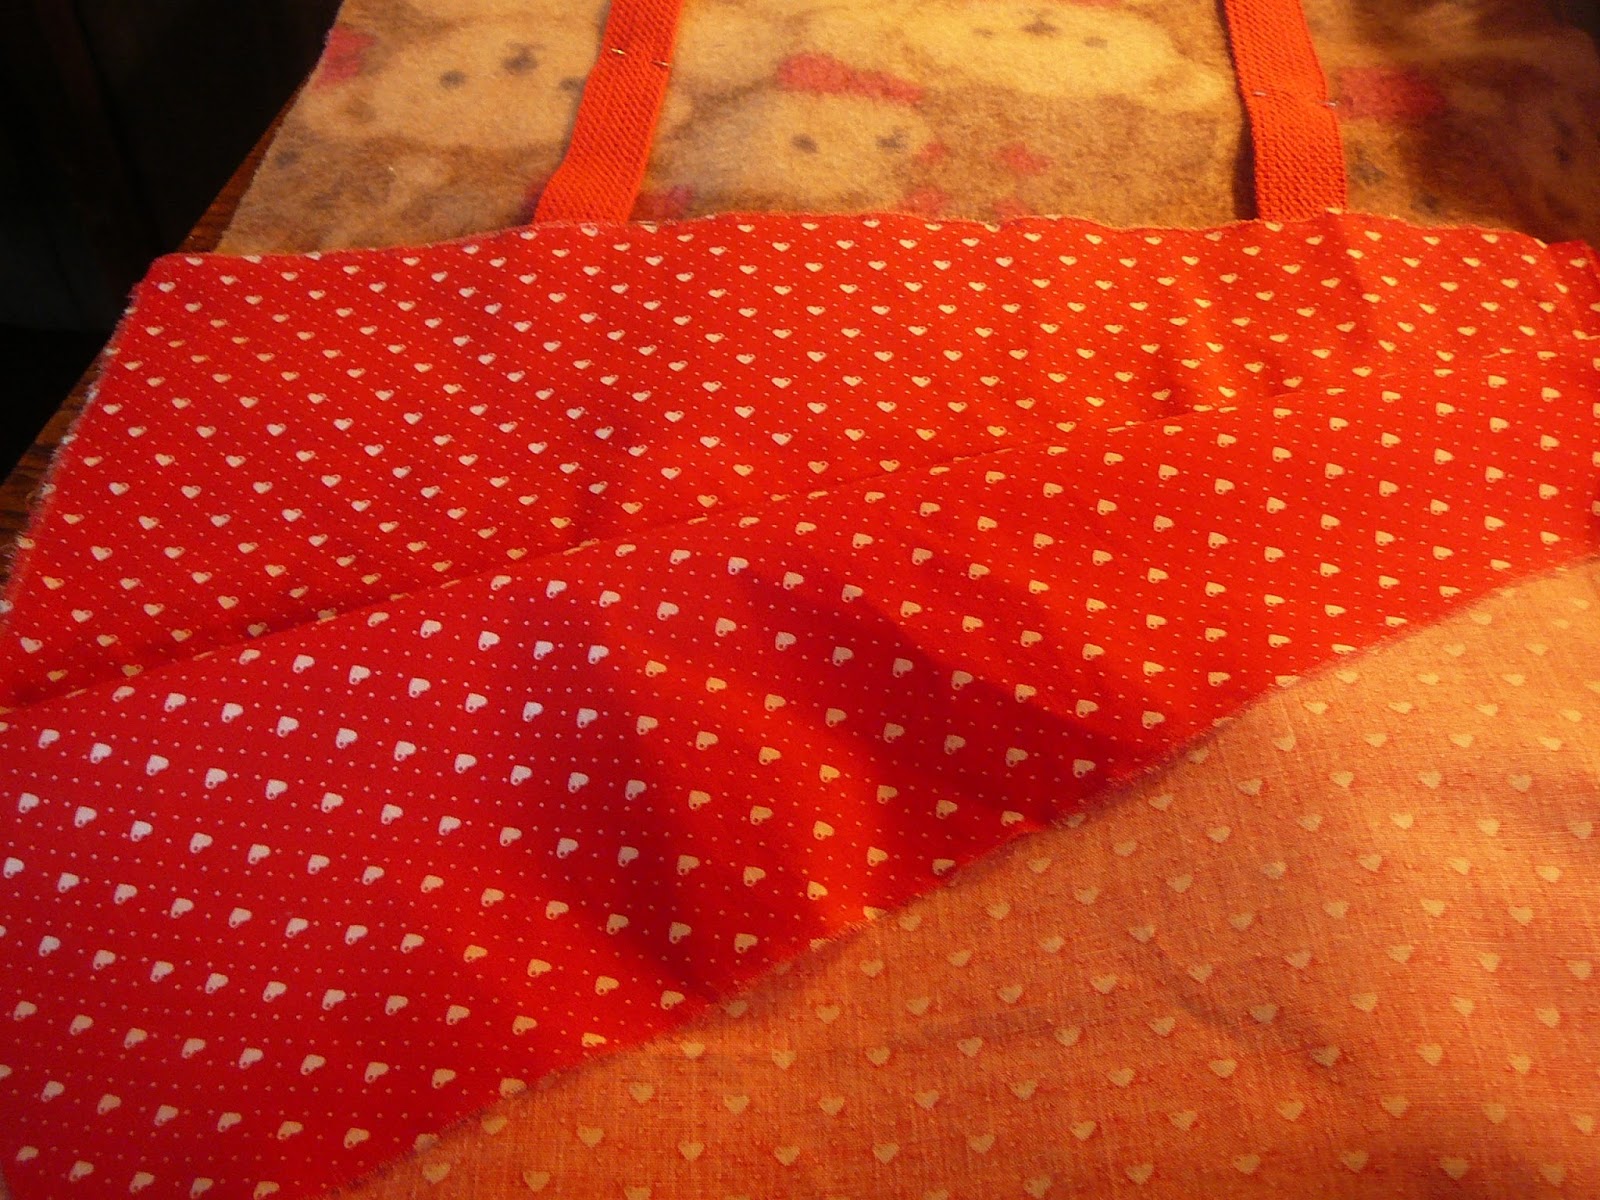
I did make a special trip last Friday for red strapping. I thought the contrast would be perfect as was the red cotton with tiny white hearts I picked as the lining material.
First thing is always to wash all of the fabric you are planning to use and then dry and press. (Of course don't wash if it is a "dry clean only" fabric.) This takes care of shrinkage, and rids the fabric of any finishing chemicals. I had done this last week in preparation.
I used all of a remnant I had but the dimensions are up to you they can be however large you like. It is the rules to go by I an happy to share. This piece was about 26" x 36" and the main thing is to determine how you want the pattern to run.
The other big thing in my book is to be able to make something that will hold up and last. The first bag I ever made was 34 years ago for my sister when she was expecting her first child. The key to their holding up I believe is how you apply the handles or straps. Linda is still using her bag and it shows little wear or age.
 |
| Notice the only seam I have sewn is to join the bottom of the bag. |
The first example I will use is the way I laid out the fabric and the straps. Cut 2 pieces of the fabric you have chosen for the exterior of the bag. Since I have bears and the pattern has an obvious top and bottom I place the right sides of the fabric together facing each other with both tops up and bottom of the pattern at what will be the bottom of the bag facing each other. Sew a 5/8" seam across the bottom and press it open, clipping any excess threads. Above you will note the seam is at the center of the fabric running left to right in the center and I have laid it right side up. Next I pin the strapping 3" from the raw outside edge. I USE ONE CONTINUOUS PIECE OF MATERIAL FOR THE STRAPPING. I leave 24 " between where the strap comes up and then goes back down to from each handle. Generally I start the end of the strap towards the bottom of the bag and I overlap 1 1/2"-2" when I come to the end. Always backstitch and always trim the extra threads.
 |
| Here you can see the seam that formed the bottom of the bag as well as the straps as I have pinned then to sew.. |
You can use gross grain ribbon or other decorative woven strapping for this. Edge stitch all of the way around both sides of the strap material and stop 1" BELOW the top edge of the bag.
Do NOT sew it all of the way flush to the top edge of the bag. You will just sew across the strap and start back down until each side has been done.
Next with the right sides of the bag facing each other and the straps pulled out of the line of stitching sew the sides of the bag together with a 1/2 " seam back stitching and trimming the threads.
 |
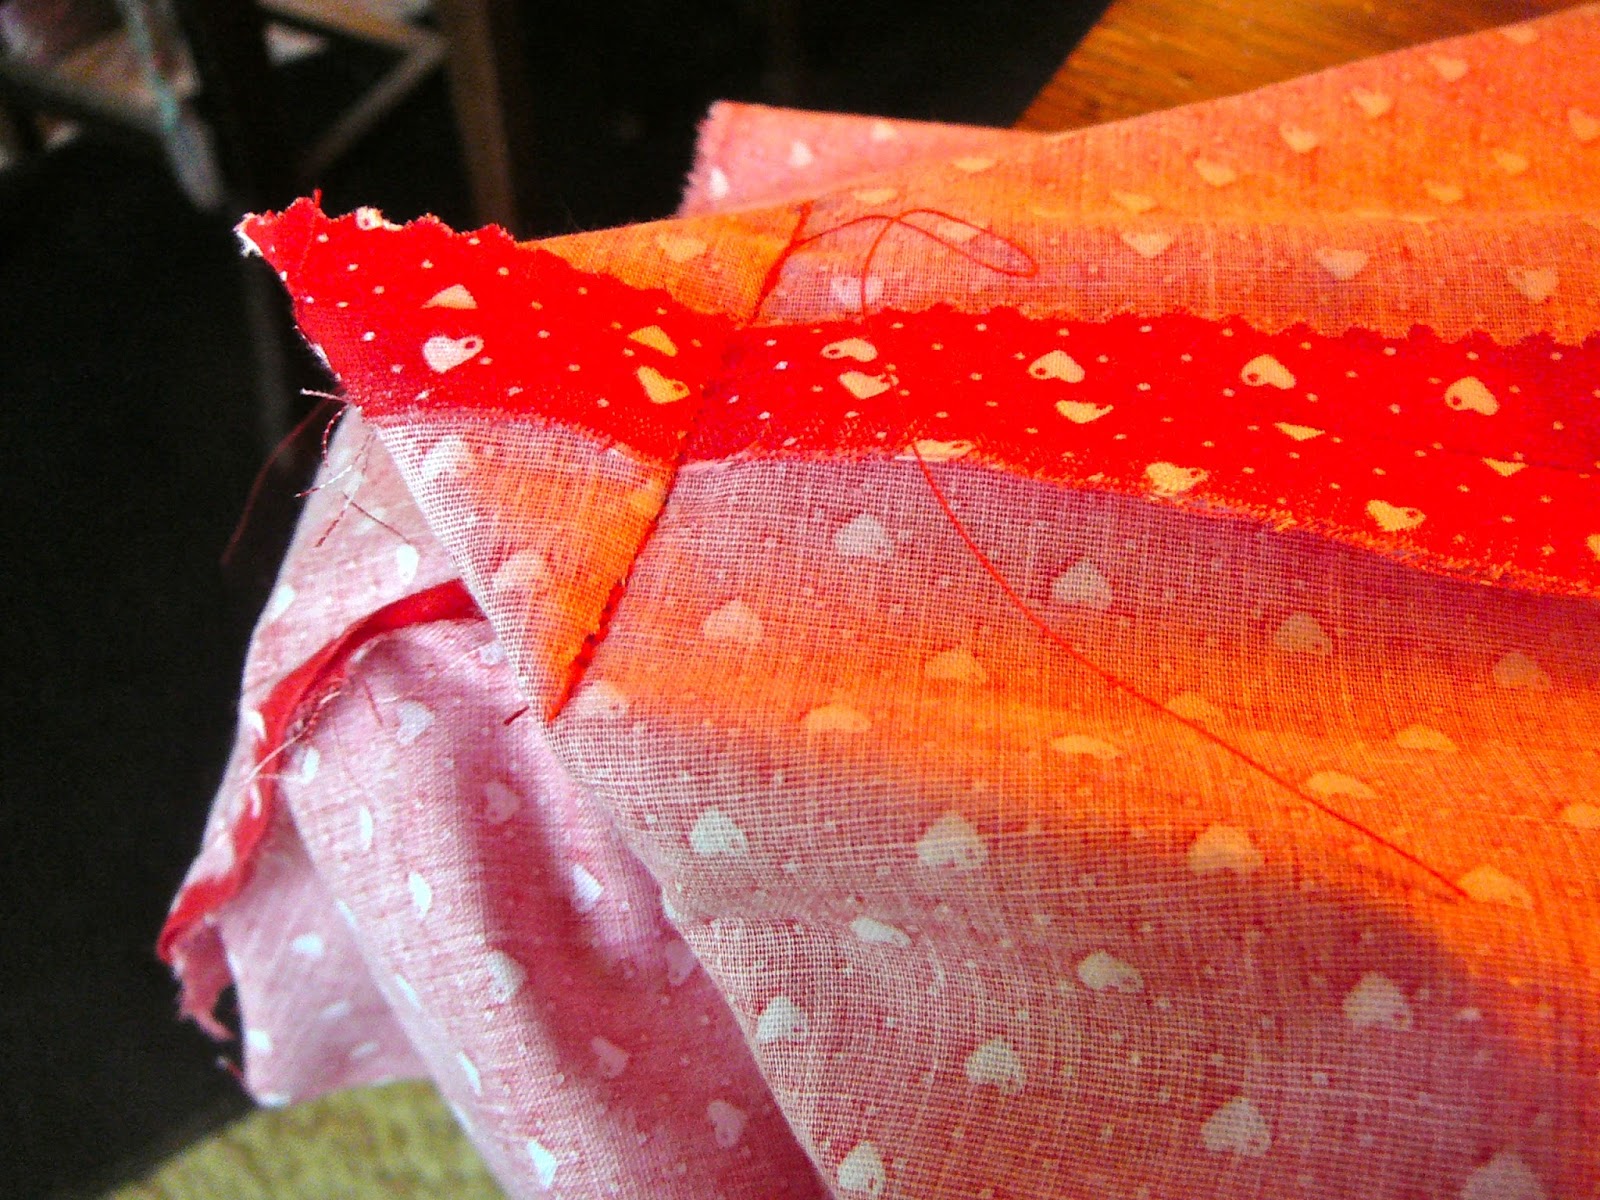
| Sew across the corner and back stitch to form a box bottom. |
If you would like you may leave the bag flat as it is or if you prefer a box corner pinch the corner the opposite direction and stitch across the corner as pictured above. If you box this corner you will need to also box the lining. Set aside for now.
 |
| The little white hearts are facing each other with the pattern right side up. |
Place the right sides together facing each other and the top of the pattern up top with the lining fabric and sew the bottom seam as you did for the bag's exterior. Sew the side seams together and press the seams open and clip the threads. Always back stitch your sewing.
 |
| Sew across the corner. |
 |
| Clip off 1/4" above the line of stitching on both the lining and the bag. |
Form the box corners and sew. Next trim across 1/4" from your line of stitching on the lining and on the bag.
Press the raw top edge of the lining under 1/4" all of the way around and then edge stitch. If you have cut the bag and the lining material exactly the same size and sewn the seams all the same size the next part will be perfect.
With the RIGHT side of the lining turned inside so you are looking down into it place the lining down inside of the bag. You will have the two edges at the top. Fold the outside edge of the bag under 1/4" and pin it against the finished edge of the lining you edge stitched under earlier. Ease any fullness evenly and pin securely.
 |
| All done! |
Top stitch the edges together 1/8" from the top edge to finish the bag. Sit back and smile!
I think a couple of those cute reversible baby bibs tucked into this bag will make a lovely gift. And it was made in Newburgh, Indiana, USA.


1 comment:
Diane, I love your baby bear bag, they look like they just want a cuddle, I'm sure whoever receives this will also love it.
Post a Comment